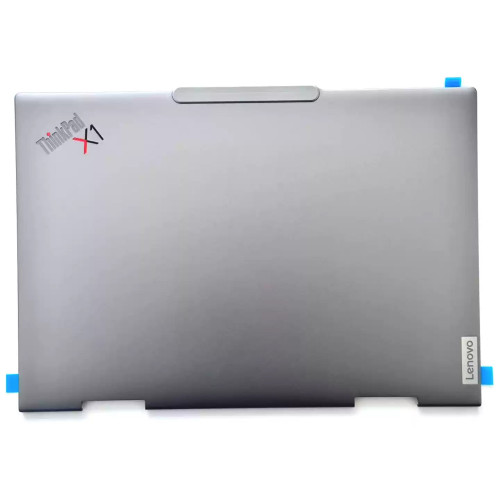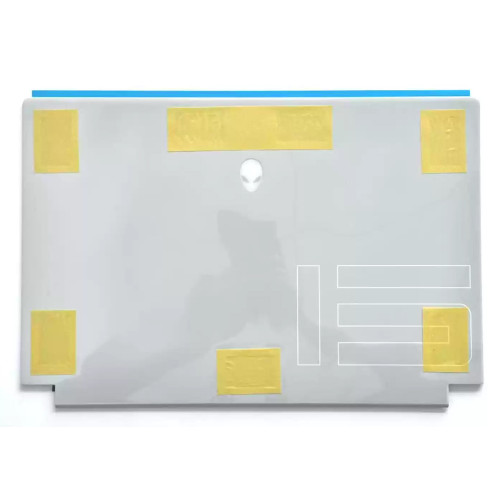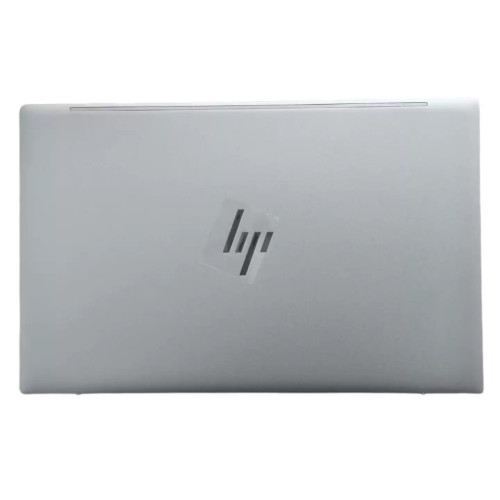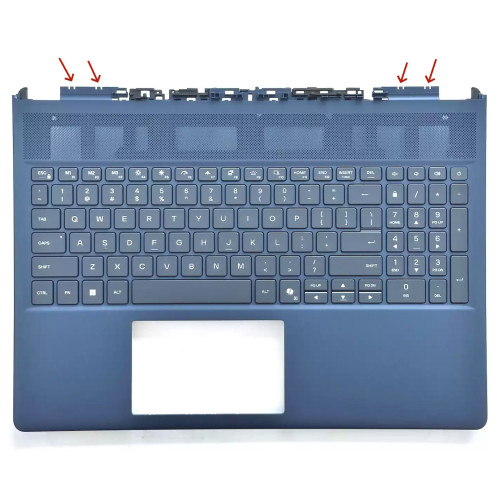

Complete specifications for reference:
Acer Nitro 16 AN16-41 - 165Hz WUXGA
Acer Nitro 16 AN16-42 - 165Hz WUXGA
Acer Nitro 16 AN16-51 - 165Hz WUXGA
Acer Nitro 16 AN16-72 - 165Hz WUXGA
Acer Nitro V 16 ANV16-41 - 165Hz WUXGA
Acer Predator Triton 300 SE PT316-51s - 165Hz WUXGA
Asus TUF Gaming A16 FA607PI - 165Hz WUXGA
Asus TUF Gaming A16 FA607PV - 165Hz WUXGA
Asus TUF Gaming F16 FX607JU - 165Hz WUXGA
Asus TUF Gaming F16 FX607JV - 165Hz WUXGA
GIGABYTE G6 KF - 165Hz WUXGA
GIGABYTE G6 MF - 165Hz WUXGA
GIGABYTE G6X 9KG - 165Hz WUXGA
GIGABYTE G6X 9MG - 165Hz WUXGA
Lenovo IdeaPad Gaming 3 16ARH7 - 165Hz WUXGA
Lenovo IdeaPad Gaming 3 16IAH7 - 165Hz WUXGA
Lenovo Legion 5 Pro 16ARH7 - 165Hz WUXGA
Lenovo Legion 5 Pro 16ARH7H - 165Hz WUXGA
Lenovo Legion 5 Pro 16IAH7 - 165Hz WUXGA
Lenovo Legion 5 Pro 16IAH7H - 165Hz WUXGA
Lenovo Legion S7 16ARHA7 - 165Hz WUXGA
Lenovo Legion S7 16IAH7 - 165Hz WUXGA
Maibenben X677 - 165Hz WUXGA
If you are upgrading to a higher resolution, we recommend checking your laptop's service manual or online forums for confirmed compatibility.
How to verify: Check the connector on your original screen – look for printed labels (e.g., "30P 0.4mm") or measure with a ruler. Compare with our product photos.
If you are unsure, send us a clear photo of your original screen's connector – we can match it for you.
We ship all screens in the grade stated on the product page. All screens are tested for functionality – no lines, no flickering, and backlight is working.
If you require a specific grade, please check the product description or contact us before ordering.
Our warranty covers manufacturing defects only – physical damage during installation is not covered.
Accessing the screen requires removing the bezel – some models also require removing the entire display assembly (lid) from the base to avoid damaging cables.
Critical: The cable must be inserted all the way – if it is not fully seated, you will get a partial display or no image. Do not force the cable; if it does not go in easily, check the orientation.
Always disconnect the battery before connecting or disconnecting the LCD cable to avoid short circuits.
Note: This is a delicate operation – proceed with caution. If you are not confident, consider using a professional repair service.
Common pitfalls to avoid:
Watch our installation video or consult your laptop's service manual for model‑specific details.
Critical precautions:
Troubleshooting – what if the screen does not work after installation?
If you have tried all the above and the problem persists: Contact our support with photos of the screen issue and your laptop model – we will help diagnose and arrange a replacement if necessary.