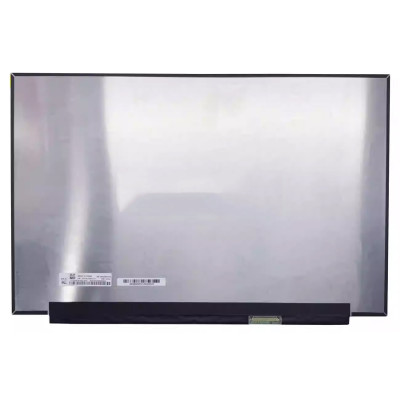
Complete specifications for reference:
Asus TUF Gaming A16 Series
Asus TUF Gaming FA607 Series
Asus TUF Gaming FA607P
Asus TUF Gaming FA607PI
Asus TUF Gaming FA607PV
Asus TUF Gaming F16 Series
Asus TUF Gaming FX607 Series
Asus TUF Gaming FX607J
Asus TUF Gaming FX607JI
Asus TUF Gaming FX607JIR
Asus TUF Gaming FX607JU
Asus TUF Gaming FX607JV
Asus TUF Gaming FX607JVR
Asus TUF Gaming FX607P
Asus TUF Gaming FX607PV
Asus ROG Zephyrus M16 Series
Asus ROG Zephyrus GU603 Series
Asus ROG Zephyrus GU603H
Asus ROG Zephyrus GU603HE
Asus ROG Zephyrus GU603HM
Asus ROG Zephyrus GU603HR
Asus ROG Zephyrus GU603Z
Asus ROG Zephyrus GU603ZE
Asus ROG Zephyrus GU603ZM
Asus ROG Zephyrus GU603ZW
Asus ROG Zephyrus GU603ZX
Gigabyte AORUS 16 Series
Gigabyte AORUS 16 BKF
Gigabyte AORUS 16 BSF
Gigabyte AORUS 16X Series
Gigabyte AORUS 16X 9KG
Gigabyte AORUS 16X 9SG
Gigabyte AORUS 16X AKG
Gigabyte AORUS 16X ASG
Lenovo Legion 5 Pro Series
Lenovo Legion 5 Pro-16ACH6
Lenovo Legion 5 Pro 16ACH6 (82JS)
Lenovo Legion 5 Pro-16ACH6H
Lenovo Legion 5 Pro 16ACH6H (82JQ)
Lenovo Legion 5 Pro-16IAH7H
Lenovo Legion 5 Pro 16IAH7H (82RF)
Lenovo Legion 7 Series
Lenovo Legion 7 16ACHg6
Lenovo Legion 7 16ACHg6 (82N6)
Lenovo LOQ Series
Lenovo LOQ 16APH8
Lenovo LOQ 16APH8 (82XU)
Lenovo LOQ 16IRH8
Lenovo LOQ 16IRH8 (82XW)
Lenovo ThinkPad P1 Gen 4 Series
Lenovo ThinkPad P1 Gen 4 (20Y3)
Lenovo ThinkPad P1 Gen 4 (20Y4)
MSI Prestige 16 A12UD Series
Acer Predator Triton 500
Asus NV160WUM-NX1
Asus 16.0
Asus WUXGA
Asus 16ITH6H
Asus 16ITH6
Asus 82JD
Asus 82JF
Asus 5CB1C09072
Asus 5CB1C93123
Asus 5CB1C09073
Asus GU603LE
If you are upgrading to a higher resolution, we recommend checking your laptop's service manual or online forums for confirmed compatibility.
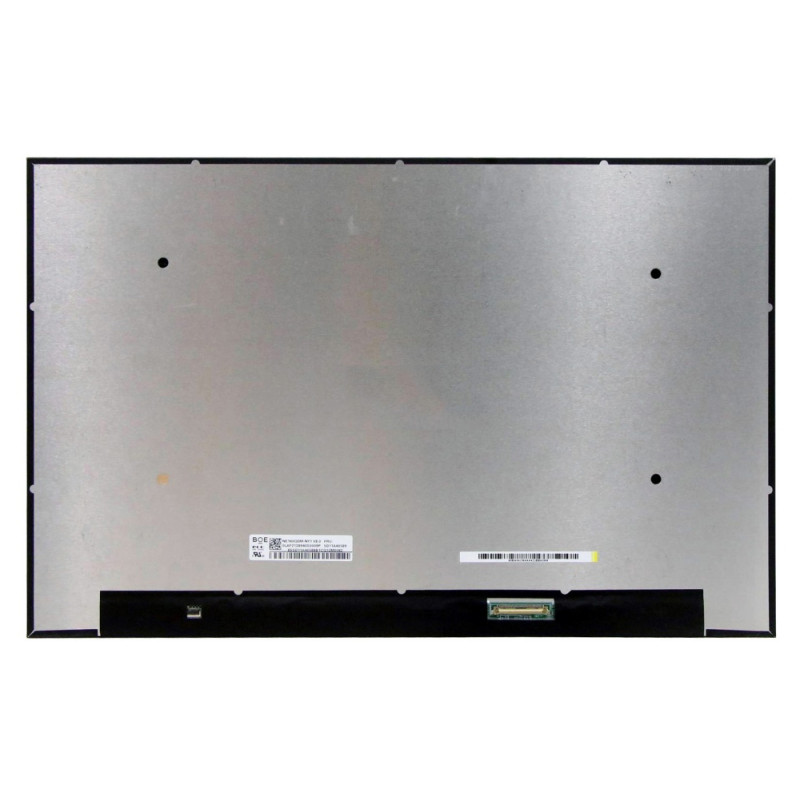
How to verify: Check the connector on your original screen – look for printed labels (e.g., "30P 0.4mm") or measure with a ruler. Compare with our product photos.
If you are unsure, send us a clear photo of your original screen's connector – we can match it for you.
We ship all screens in the grade stated on the product page. All screens are tested for functionality – no lines, no flickering, and backlight is working.
If you require a specific grade, please check the product description or contact us before ordering.
Our warranty covers manufacturing defects only – physical damage during installation is not covered.
Accessing the screen requires removing the bezel – some models also require removing the entire display assembly (lid) from the base to avoid damaging cables.
Critical: The cable must be inserted all the way – if it is not fully seated, you will get a partial display or no image. Do not force the cable; if it does not go in easily, check the orientation.
Always disconnect the battery before connecting or disconnecting the LCD cable to avoid short circuits.
Note: This is a delicate operation – proceed with caution. If you are not confident, consider using a professional repair service.
Common pitfalls to avoid:
Watch our installation video or consult your laptop's service manual for model‑specific details.
Critical precautions:
Troubleshooting – what if the screen does not work after installation?
If you have tried all the above and the problem persists: Contact our support with photos of the screen issue and your laptop model – we will help diagnose and arrange a replacement if necessary.