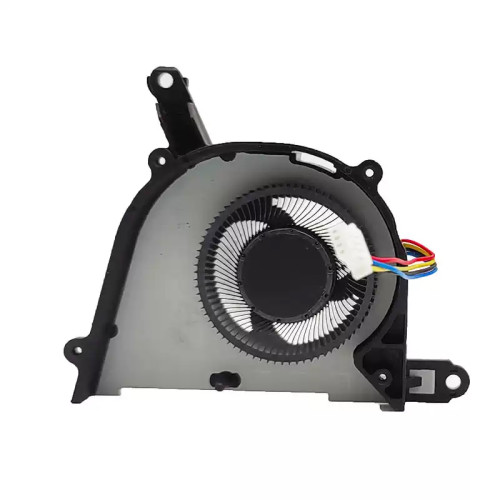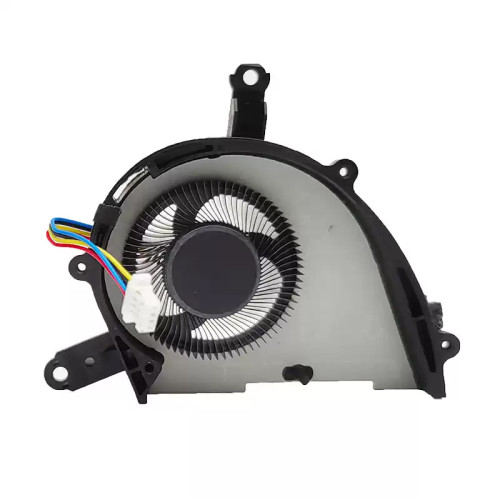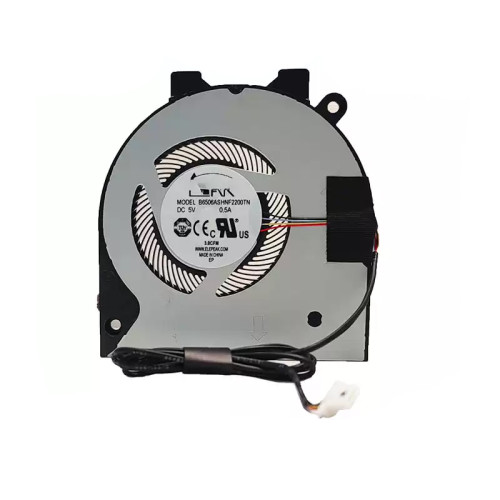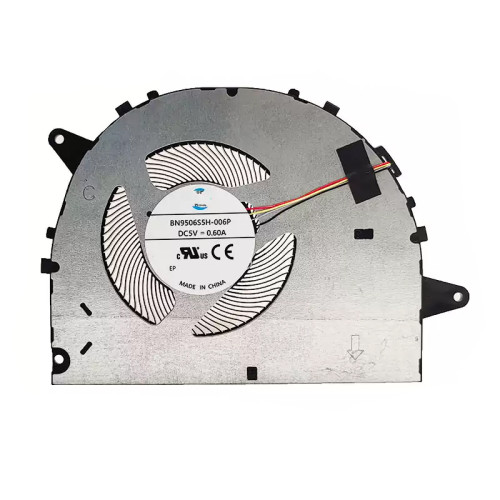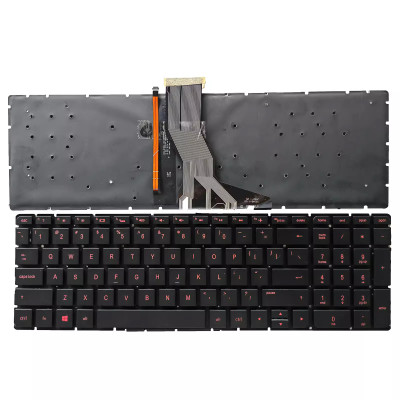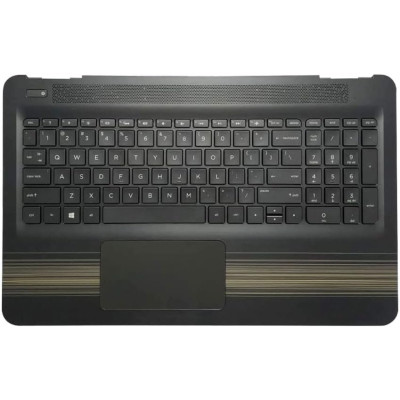

Complete specifications for reference:
HP Pavilion 15-AB
15T-AB
15Z-AB
15-AB000
15-AB100
15-AB200
15-AB500
15T-AB000
15T-AB100
15Z-AB00
15Z-AB100
HP Envy 15-AE
15T-AE
15-AE000
15-AE100
15T-AE000
15T-AE100
HP ENVY 15-AH
15Z-AH
15-AH000
15-AH100
15Z-AH000
HP Pavilion Gaming 15-AK
15T-AK
15-AK000
15-AK100
15T-AK000
HP 15-AN
15-AN000
HP ENVY 15-AQ
15T-AQ
15-AQ000
15-AQ100
15-AQ200
15T-AQ000
15T-AQ100
15T-AQ200
HP ENVY 15-AR
15Z-AR
15-AR000
15Z-AR000
HP ENVY 15-AS
15T-AS
15-AS000
15-AS100
15T-AS000
15T-AS100
HP Pavilion 15-AU
15T-AU
15-AU000
15-AU100
15-AU500
15-AU600
15T-AU000
15T-AU100
HP Pavilion 15-AW
15-AW000
15-AW100
HP OMEN 15-AX
15T-AX
15-AX000
15-AX100
15-AX200
15T-AX000
15T-AX200
HP Pavilion 15-BC
15T-BC
15-BC000
15-BC200
15-BC300
15-BC400
15-BC500
HP Pavilion 15-BJ
15-BJ000
HP Pavilion 15-BK
15T-BK
15-BK000
15-BK100
15T-BK000
15T-BK100
HP Pavilion 15-DP
15T-DP
15-DP000
HP ENVY 15-W
15T-W
15-W000
15-W100
15-W200
15T-W000
15T-W100
15T-W200
HP Pavilion 17-AB
17T-AB
17-aB000
17-aB200
17-AB300
17-AB400
17T-AB000
17T-AB200
HP Pavilion 17-G
17T-G
17Z-G
17-G000
17-G100
17-G200
17T-G000
17T-G100
17Z-G000
HP ENVY 17-N
17T-N
17-N000
17-N100
17T-N000
17T-N100
HP ENVY 17-R
17T-R
17-R000
17-R100
17-R200
17T-R100
HP OMEN 17-W
17T-W
17-W000
17-W100
17-W200
17T-W000
17T-W100
17T-W200
HP ENVY M6-AE
M6-AE100
HP ENVY M6-AQ
M6-AQ000
M6-AQ100
HP ENVY M6-AR
M6-AR000
HP ENVY M6-P
M6-P000
M6-P100
HP ENVY M6-W
M6-W000
M6-W100
HP ENVY M7-N
M7-N000
M7-N100
Important: Layouts are not interchangeable – the key positions, Enter key shape, and modifier key sizes vary. Installing a US keyboard on a UK laptop will result in some keys not matching the keycaps, and the operating system may map the keys incorrectly (though you can change the keyboard layout in software).
How to verify: Check your original keyboard – look for the Enter key shape (wide horizontal vs tall vertical) and the position of the backslash key. If unsure, send us a photo of your original keyboard and we will confirm the layout.
Connection: If your keyboard has a separate backlight cable, connect it to the designated motherboard header. If the backlight is integrated into the main ribbon cable, no additional connection is needed.
If you are replacing a non‑backlit keyboard with a backlit one, make sure your laptop's motherboard has the necessary connector – otherwise the backlight will not work.
If the cable has a reinforcing strip (a thicker plastic piece at the end), ensure this strip is positioned correctly – it usually indicates the insertion depth and orientation.
If you are unsure about the correct orientation, our installation video and photos can guide you – or contact our support for assistance.
Yes – please verify the following physical attributes to ensure a perfect fit:
Part number (PN) check: The PN on the back of the keyboard may differ from your original, but we guarantee full compatibility if the model and layout match. If you are unsure, send us a photo of the back of your original keyboard (showing the PN sticker) and we will confirm.
Important note on model variants: Some laptop models have different keyboard variants depending on the region and configuration (e.g., some have backlit, some do not; some have a fingerprint reader, some do not). Always check your original keyboard's features before ordering.
If you are unsure, contact our support with your laptop's exact model number and a photo of your original keyboard – we will confirm compatibility for you.
The keyboard connects to the motherboard via a ribbon cable that passes through a slot in the C Cover, plugging into a ZIF connector on the motherboard (usually labelled KEYBOARD, KBD, or J_KB).
Access: To replace the keyboard, you may need to remove the bottom cover (D Cover) or the bezel around the keyboard – depending on the model. Some laptops require removing the entire palmrest (C Cover).
Always consult your laptop's service manual for the specific removal method – forcing the keyboard can damage the clips or the C Cover.
Connection procedure:
If the keyboard has a separate backlight cable:
Do not force the cable – if it does not go in easily, check the orientation. Bent pins on the motherboard header can be difficult to repair.
Note: Keyboard replacement methods vary by laptop model. The steps below are general – refer to your laptop's service manual for model‑specific instructions.
For top‑mount keyboards (most common):
For bottom‑mount keyboards:
Common mistakes to avoid:
If you are unsure about any step, watch our installation video or consult your laptop's service manual.
Critical precautions:
Troubleshooting after installation:
If the problem persists: Contact our support with details about which keys are not working and photos of your keyboard installation – we will help diagnose if the keyboard is defective or incompatible.
For most laptops, no driver installation is needed – keyboards are standard HID (Human Interface Device) and are automatically recognized by Windows, macOS, and Linux.
However, there are a few exceptions:
Step‑by‑step for Windows users:
If you are using Linux or macOS, the keyboard should work plug‑and‑play – you may only need to adjust the layout settings in the system preferences.