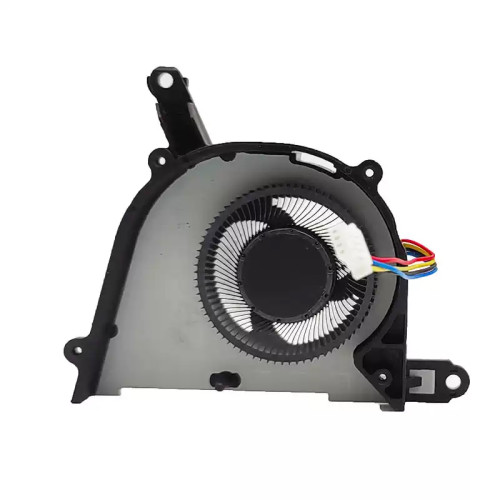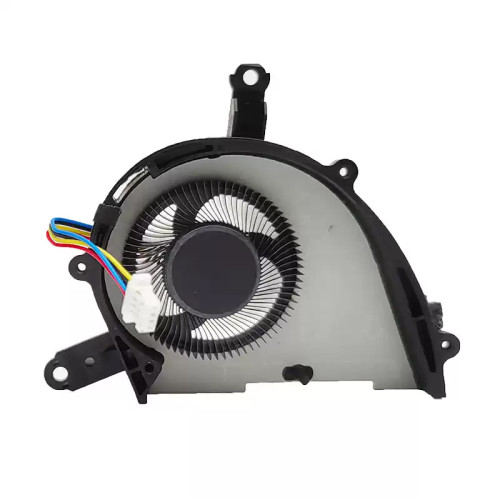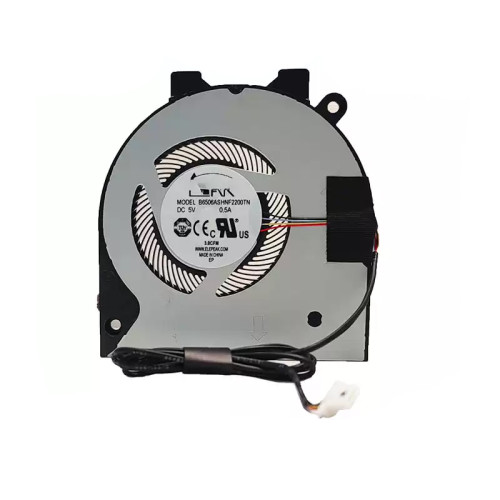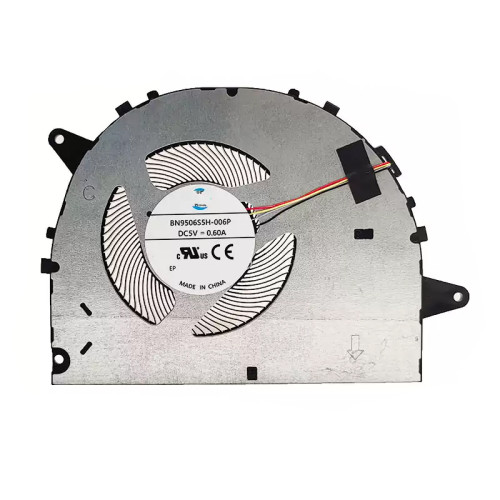

.jpg)
Actual internal layout for ASUS TUF Gaming F15 (FX506) disassembly by pcpsare.com— helps you locate the part before replacement.
.jpg)
Actual internal layout for ASUS TUF Gaming F15 (FX506, 2021) disassembly by pcpsare.com— helps you locate the part before replacement.
 2021.jpg)
Actual internal layout for ASUS TUF A17 (FA706) 2021 disassembly by pcpsare.com— helps you locate the part before replacement.
.jpg)
Actual internal layout for ASUS TUF A17 (FA706) disassembly by pcpsare.com— helps you locate the part before replacement.
.jpg)
Actual internal layout for ASUS TUF A15 (FA506) disassembly by pcpsare.com— helps you locate the part before replacement.

Actual internal layout for ASUS TUF Gaming A15 FA506IV-HN172 disassembly by pcpsare.com— helps you locate the part before replacement.
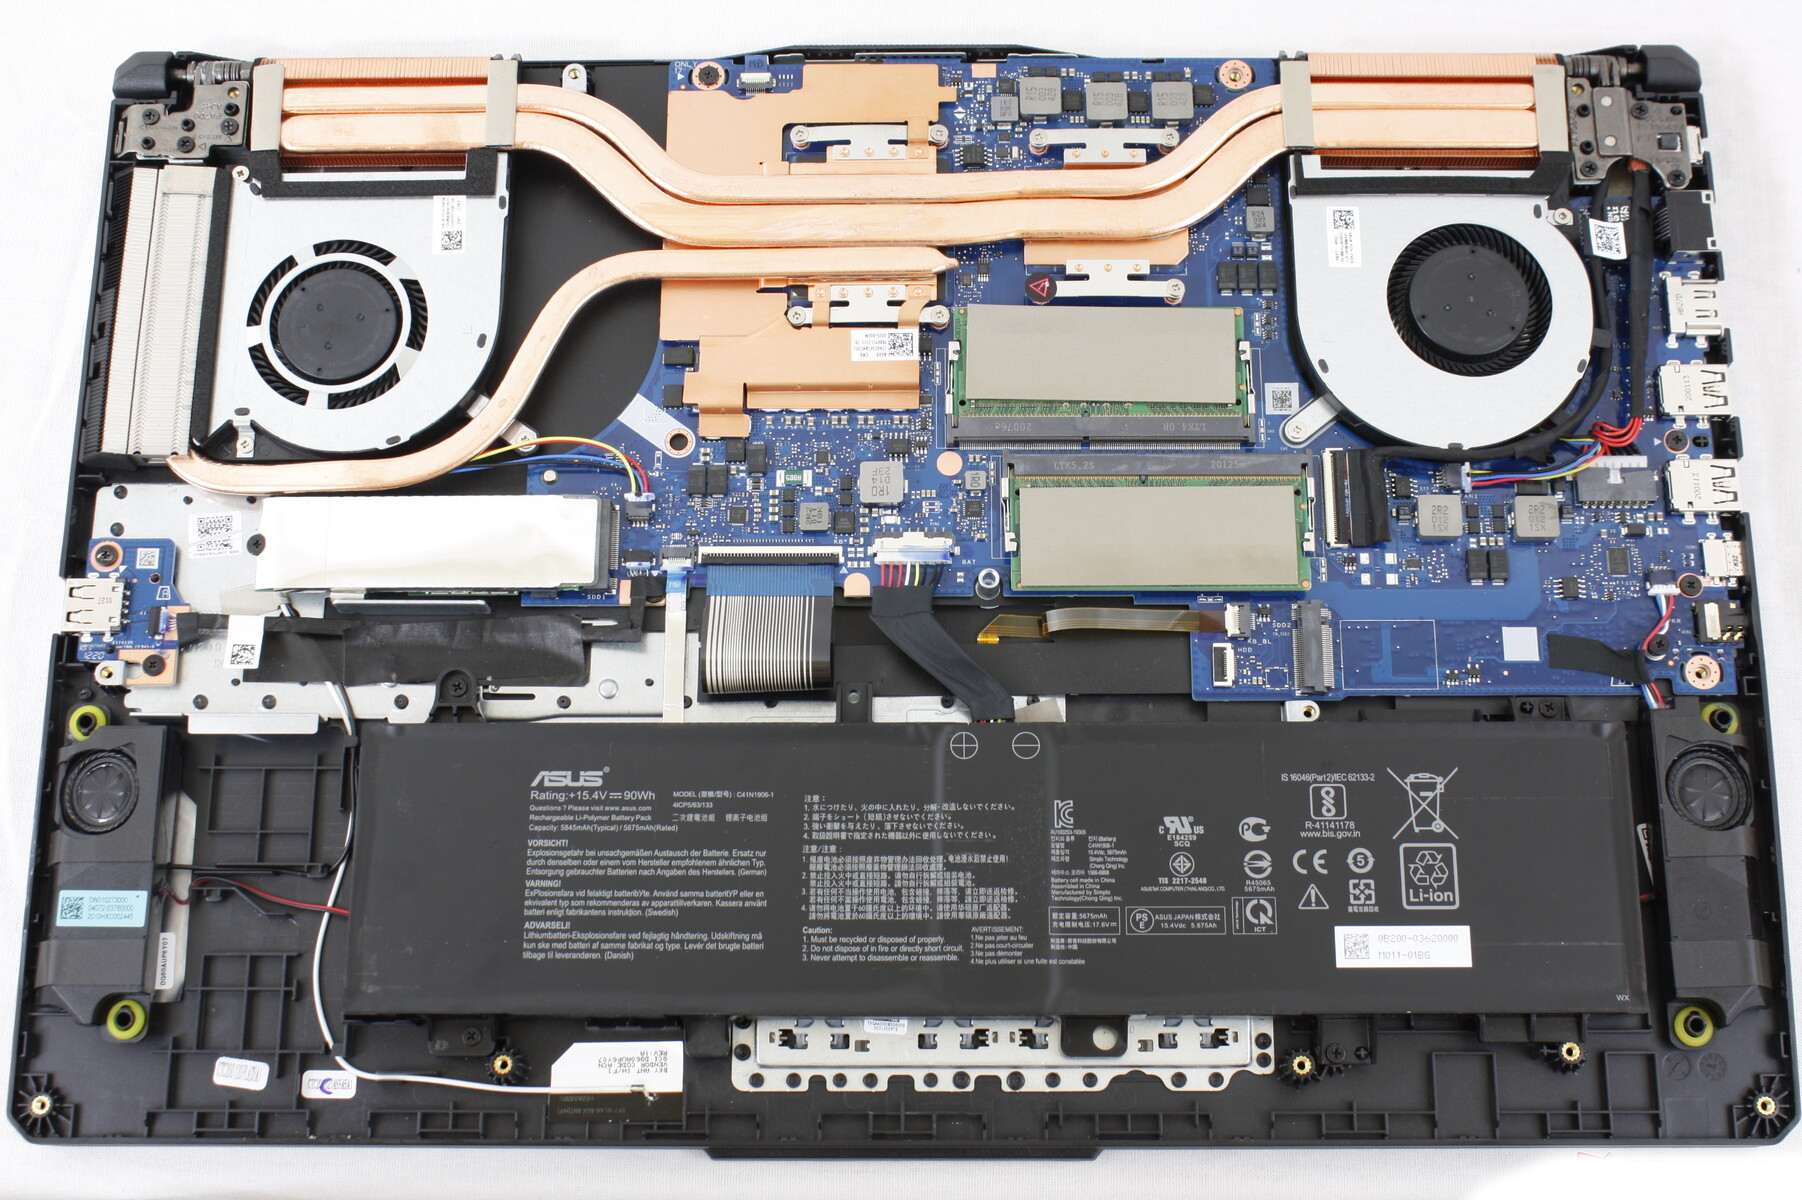
Actual internal layout for Asus TUF A17 FA706IU-AS76 disassembly by pcpsare.com— helps you locate the part before replacement.
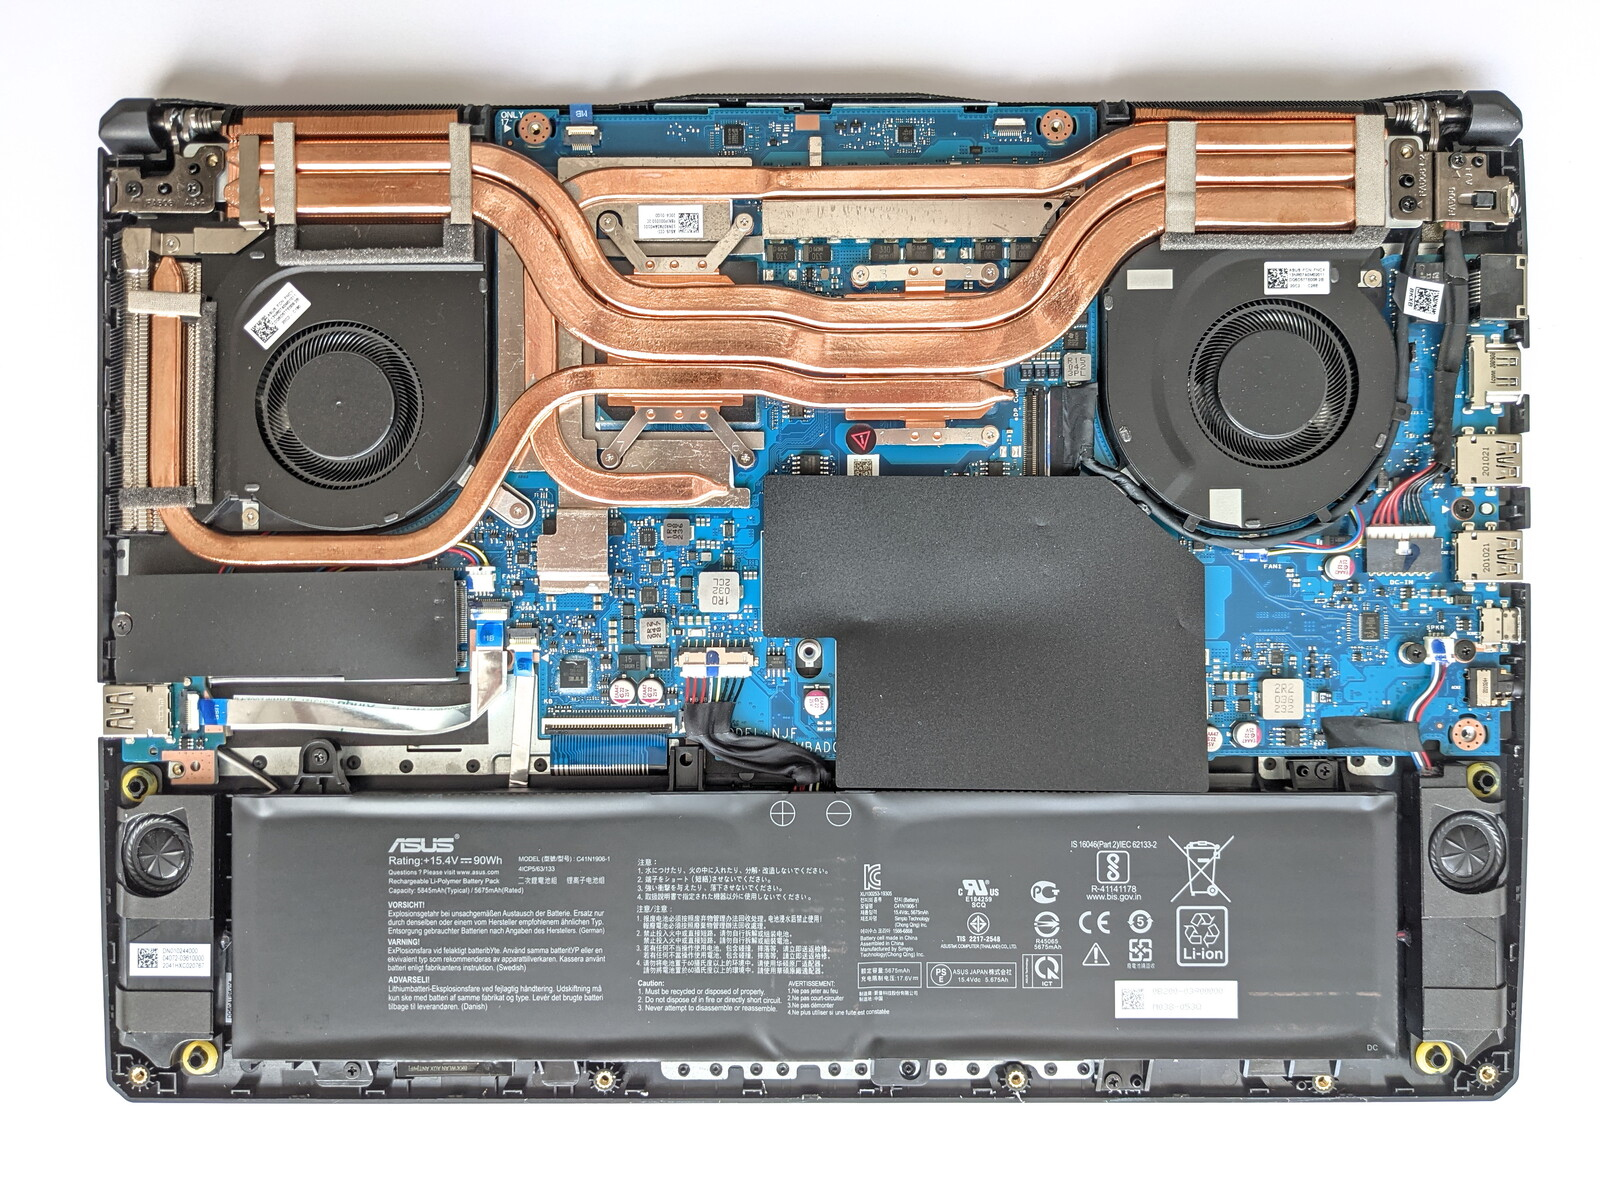
Actual internal layout for ASUS TUF Gaming A15 FA506QR disassembly by pcpsare.com— helps you locate the part before replacement.
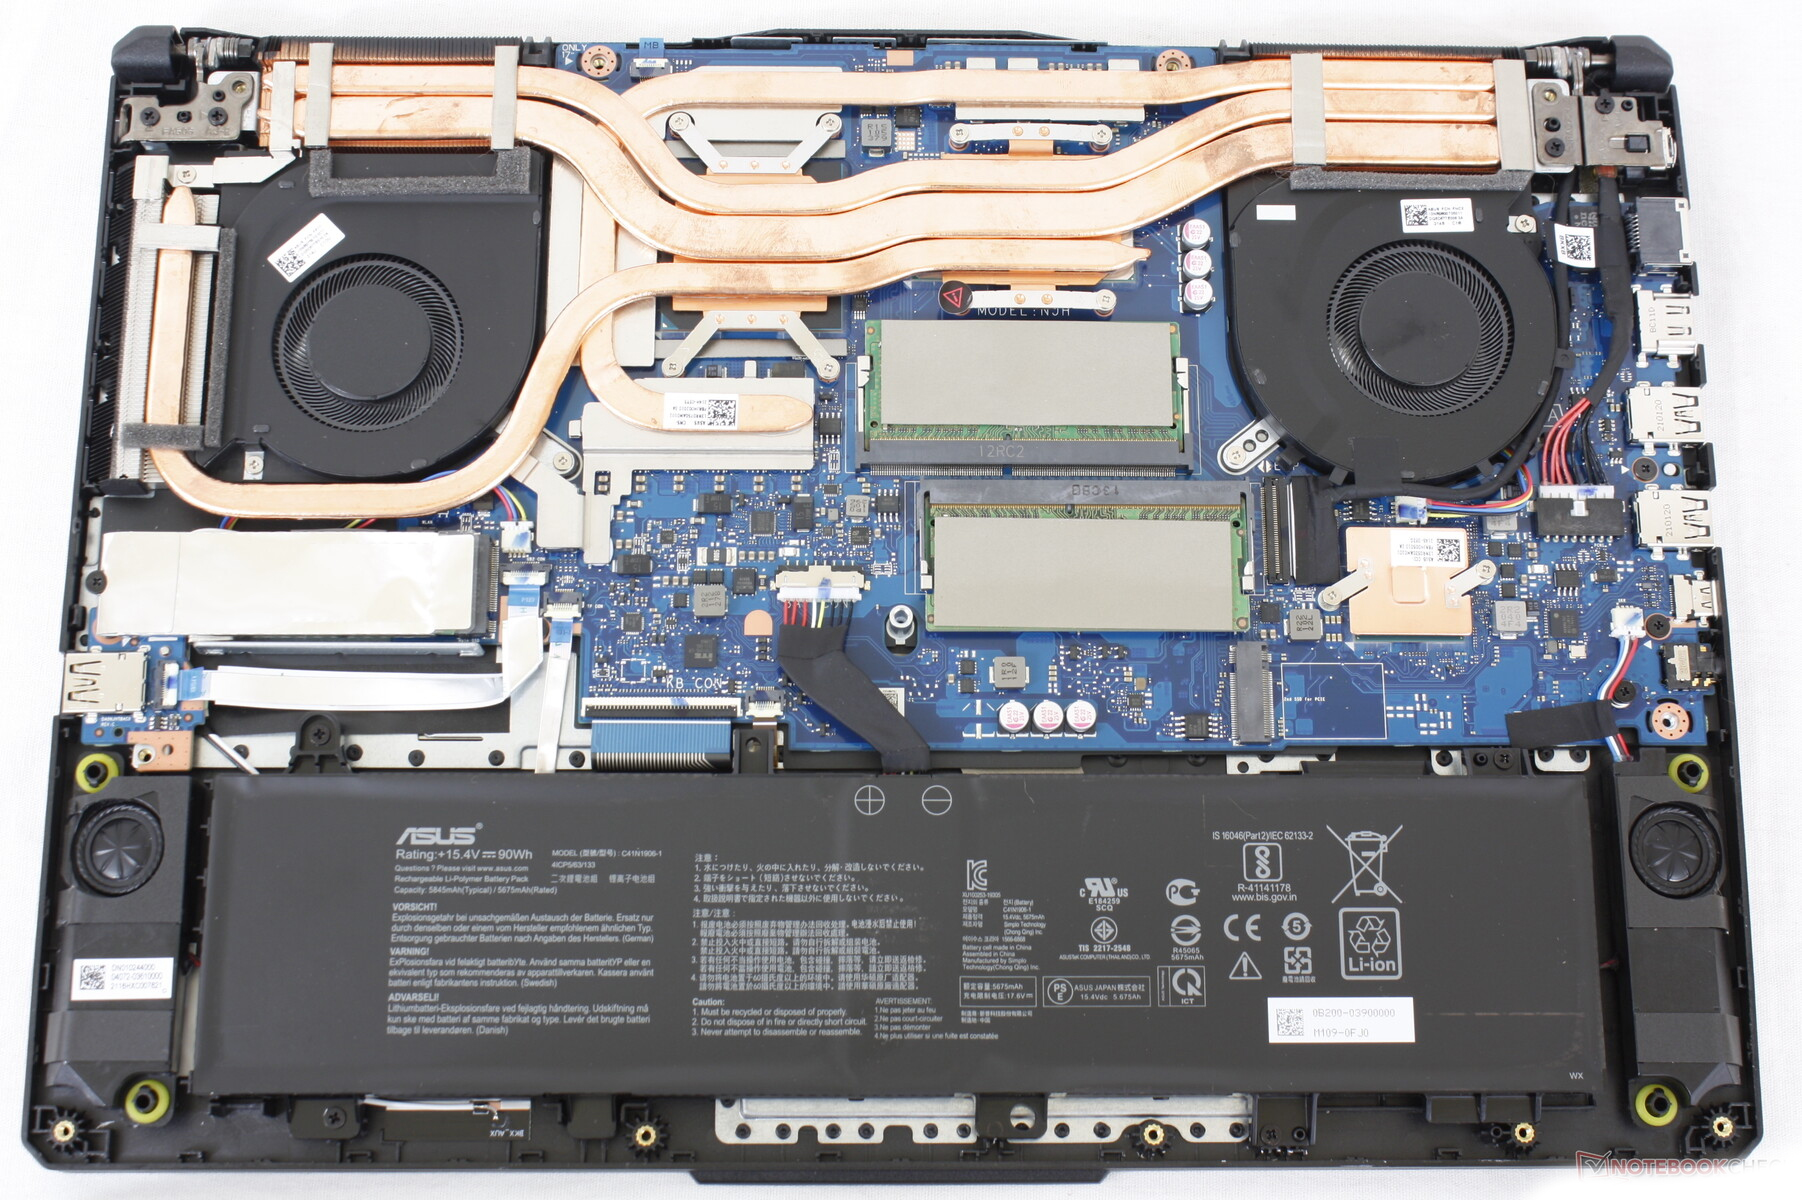
Actual internal layout for Asus TUF Gaming F15 FX506HM disassembly by pcpsare.com— helps you locate the part before replacement.
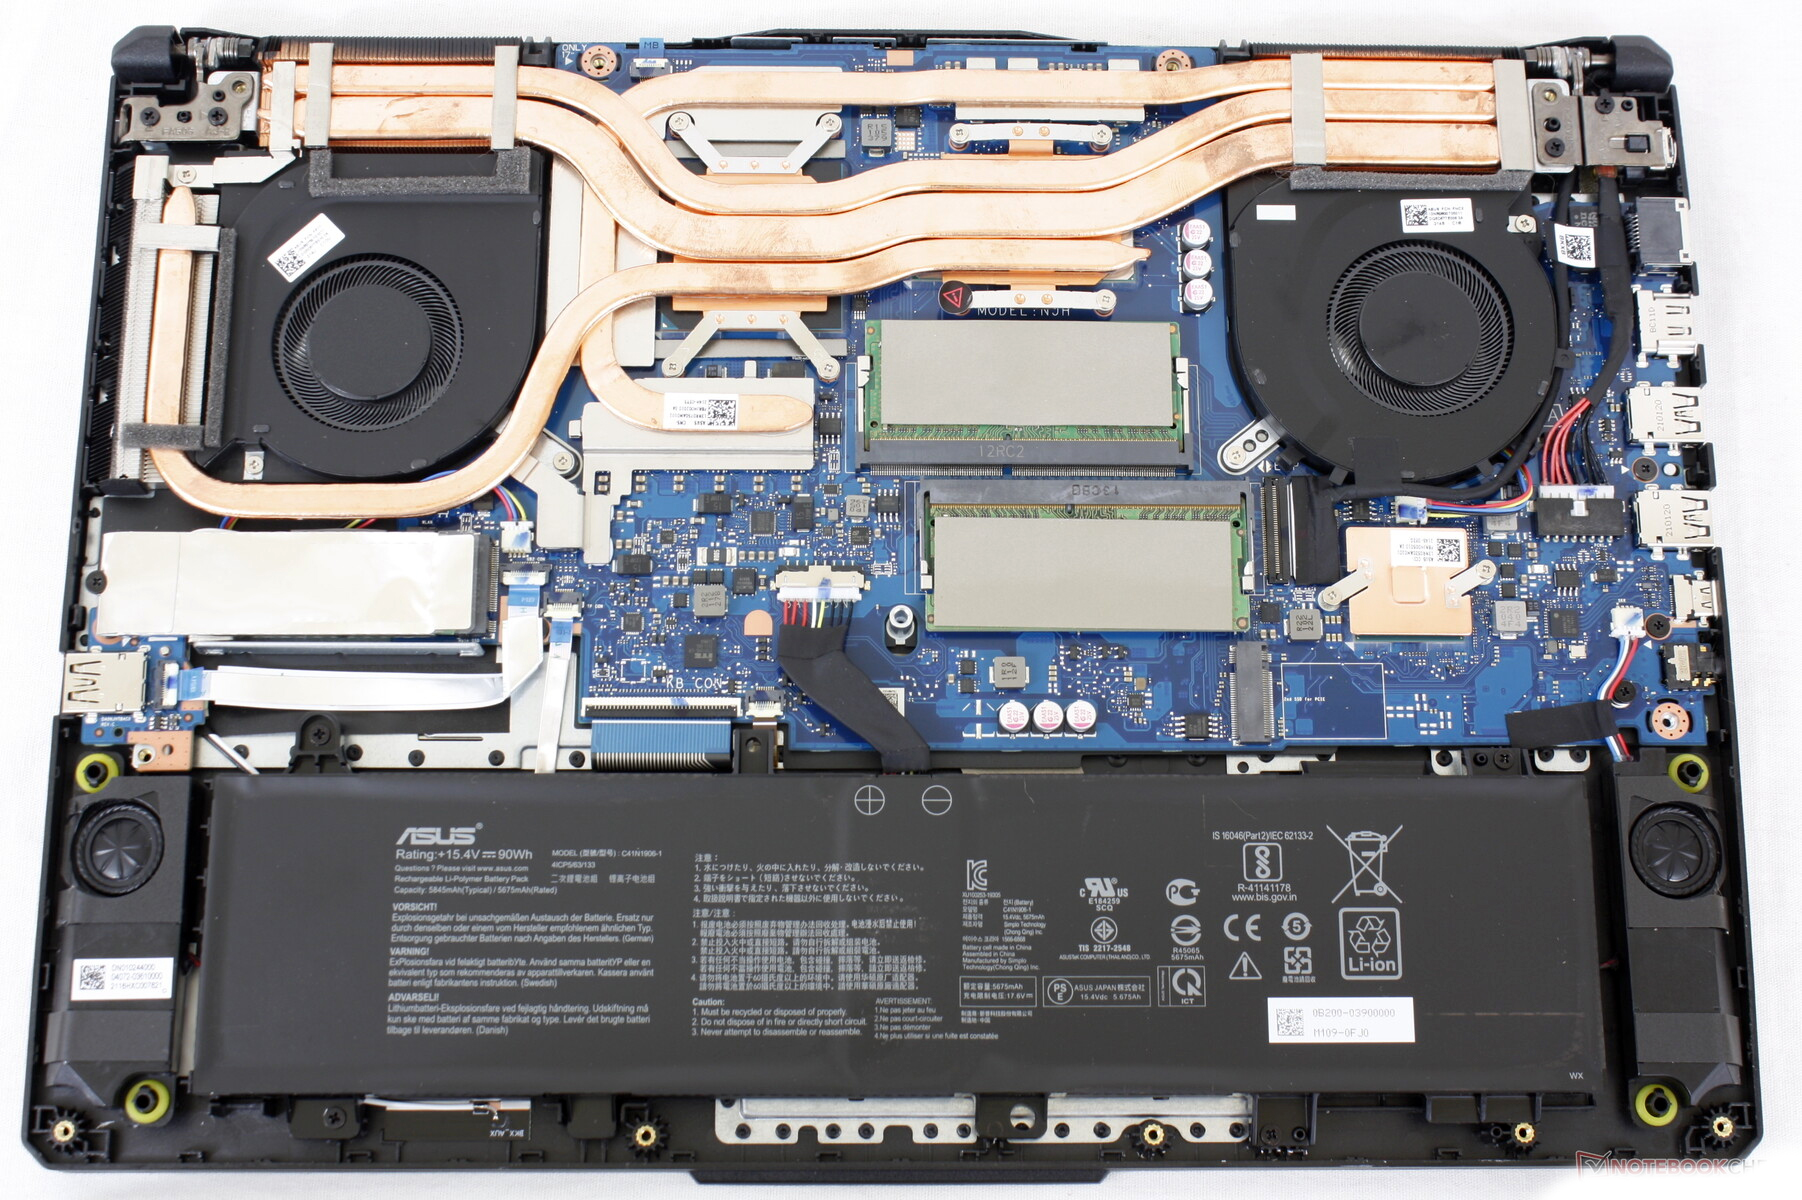
Actual internal layout for Asus FX506HM disassembly by pcpsare.com— helps you locate the part before replacement.

Actual internal layout for ASUS FA506IU disassembly by pcpsare.com— helps you locate the part before replacement.
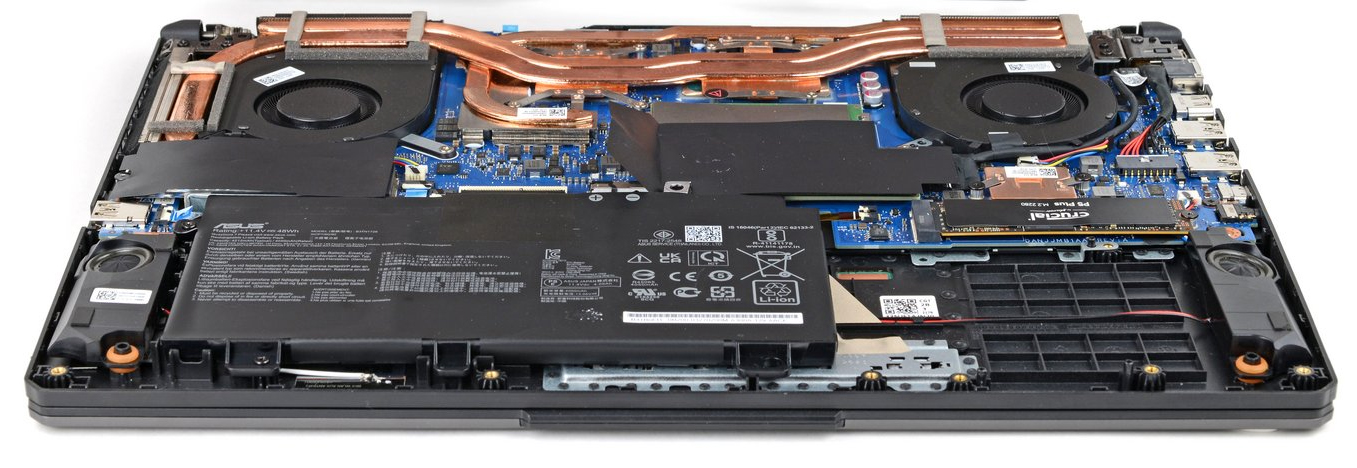
Actual internal layout for ASUS FX506HEB disassembly by pcpsare.com— helps you locate the part before replacement.
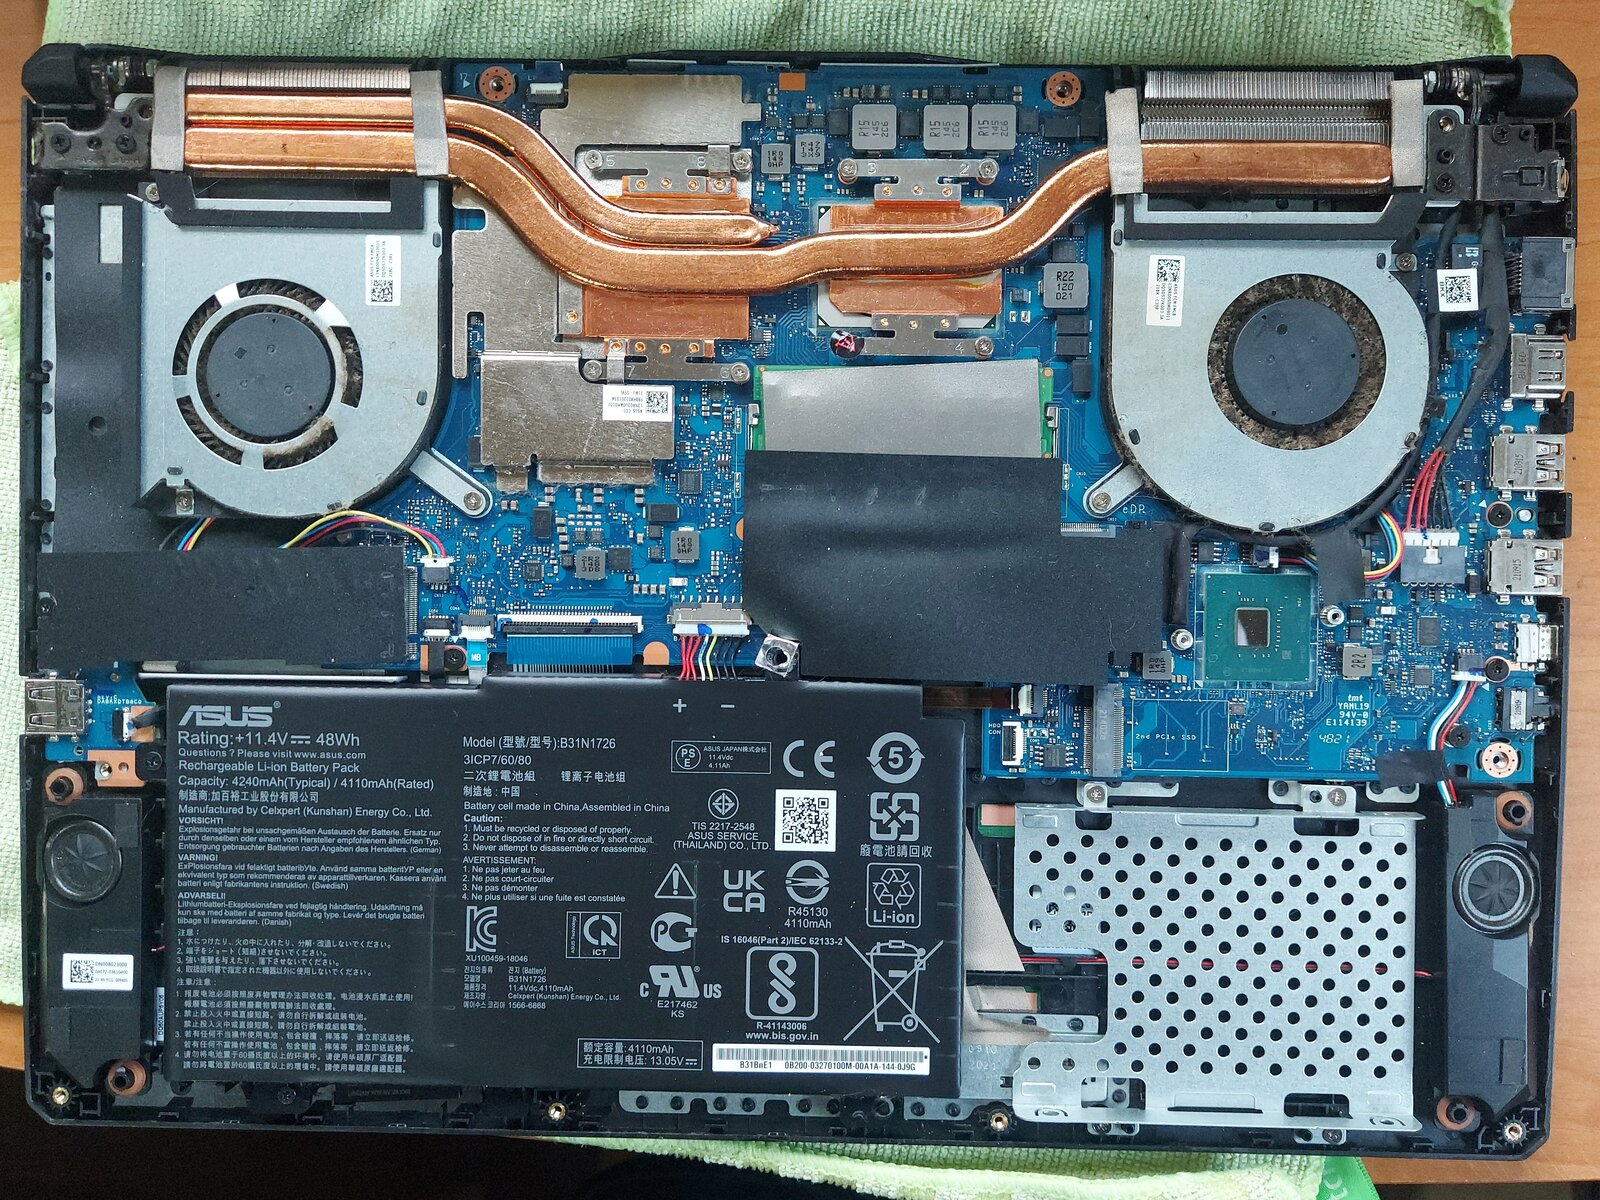
Actual internal layout for FX506L disassembly by pcpsare.com— helps you locate the part before replacement.
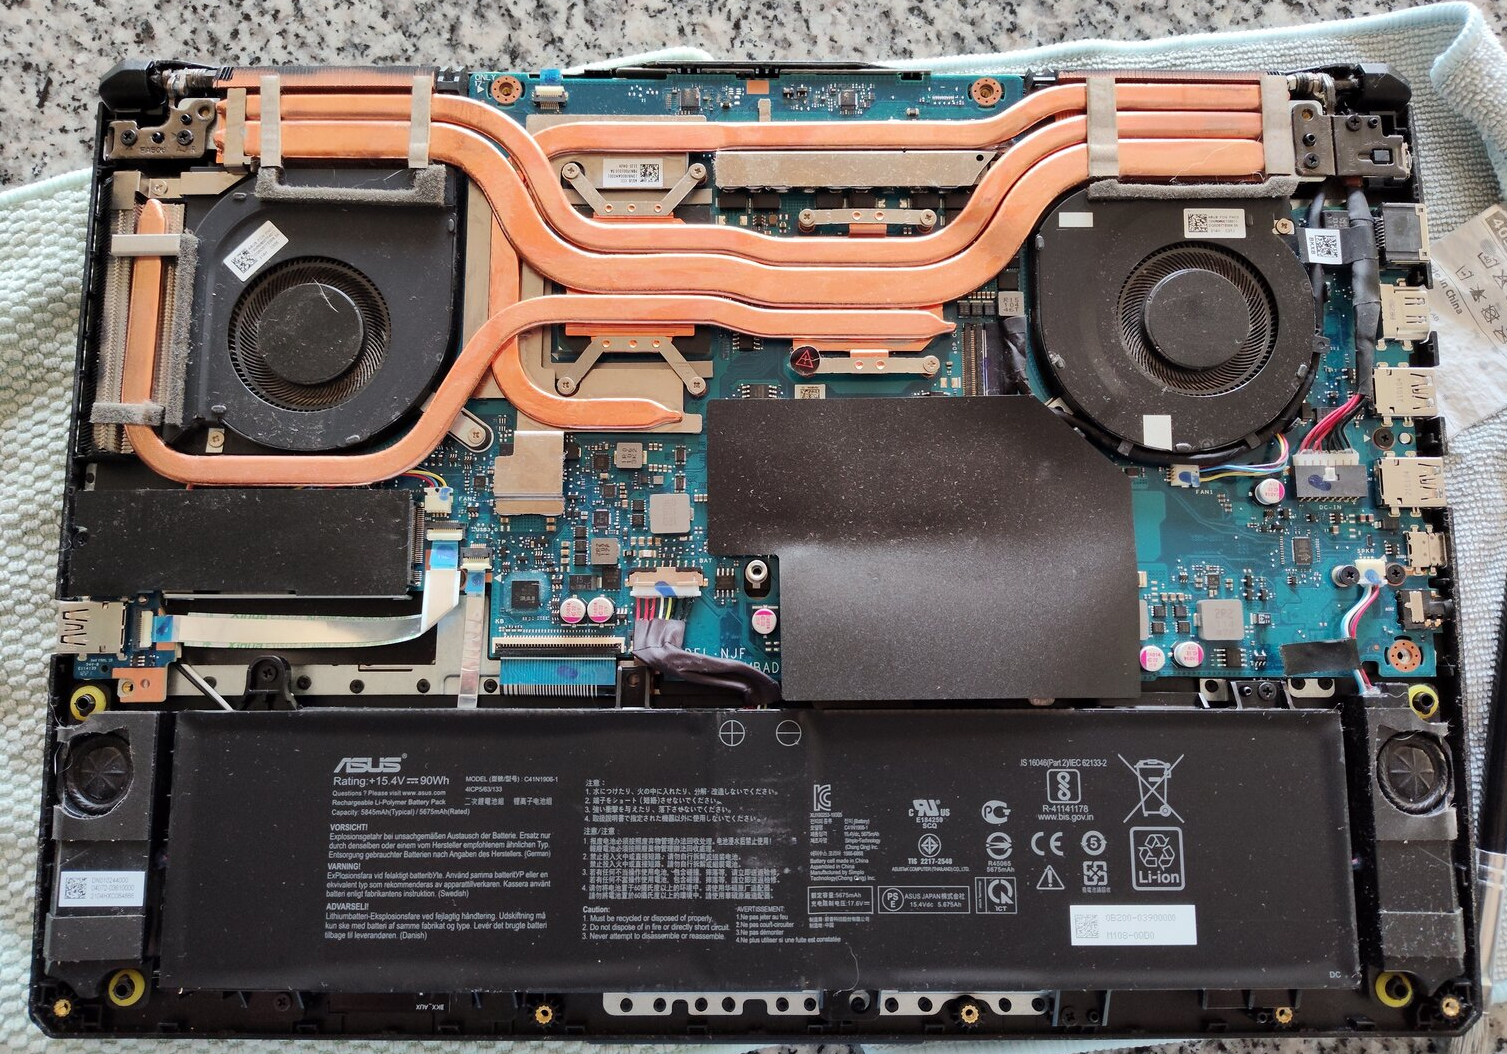
Actual internal layout for FA506QM disassembly by pcpsare.com— helps you locate the part before replacement.
Ensure these specifications match your original cable – the connector must fit both the hard drive and the motherboard header, the length should allow proper routing without tension, and the pin count determines the data/voltage signals. Most laptop hard drive cables use a 7+15 pin SATA combo connector on the drive side and a proprietary FFC connector on the motherboard side.
This cable is designed for DD0BKXHD011. However, hard drive cables are often model‑specific due to different motherboard connectors, cable lengths, and routing paths. Please compare the physical shape and connector pinout with your original cable. Check the part number printed on the cable (if available) – it should match or be an official alternative. Using an incompatible cable may result in detection failure, slow data transfer, or even damage to the drive.
Note: The cable is delicate – avoid sharp folds or pulling on the wires. Always hold the connector, not the cable itself.
The cable must be routed carefully to avoid contact with heat sinks, fans, or moving parts. It is usually secured with adhesive tape or plastic clamps to prevent it from coming loose during normal use.
To access the cable, you generally need to remove the bottom cover only, but on some machines you may also need to remove the hard drive caddy or the entire drive assembly first.
Connection steps:
After connecting, gently tug on the cable to verify it is securely locked in place.
Critical precautions:
Troubleshooting if the hard drive is not detected:
If the problem persists, the new cable might be incompatible or defective – contact our support with your laptop model and original cable part number.
If you suspect a cable issue, the most reliable test is to replace it with a known‑good cable. Our replacement cable is manufactured to OEM specifications and is the best solution to restore stable connectivity.