Watch official MSI videos for installation, disassembly, and repair guidance.
Open MSI Installation Guide File / Videos
Complete specifications for reference:
MSI MS-14D1
MSI MS-14D3
MSI MS-14DK
MSI MS-1552
MSI MS-155K
MSI MS-155L
MSI Modern 14 B10RBSW
MSI Modern 14 B10RASW
MSI Modern 14 B10MW
MSI Modern 14 B11S
MSI Modern 14 B11SBU
MSI Modern 14 B11SBL
MSI Modern 14 B11SB
MSI Modern 14 B11MU
MSI Modern 14 B11MOU
MSI Modern 14 B11MOL
MSI Modern 14 B11MO
MSI Modern 14 B11ML
MSI Modern 14 B11M
MSI Modern 14 B4MW
MSI Modern 15 A4M
MSI Modern 15 A5M
MSI Modern 15 A11MU
MSI Modern 15 A11ML
MSI Modern 15 A11M
MSI Modern 15 A11SBU
MSI Modern 15 A11SBL
MSI Modern 15 A11SB
MSI Summit B14 A11M
MSI Summit B14 A11MOT
MSI Summit B15 A11M
MSI Summit B15 A11MT
MSI Summit E14 A11SCS
MSI Summit E14 A11SCST
MSI Summit E15 A11SCST
MSI Summit E15 A11SCS
MSI WS66 Series
MSI WS66 10TK
MSI WS66 10TKT
MSI WS66 10TL
MSI WS66 10TLT
MSI WS66 10TM
MSI WS66 10TMT
MSI WS66 11UK
MSI WS66 11UKT
MSI WS66 11UM
MSI WS66 11UMT
MSI MS-1541
MSI MS-1542
MSI MS-16V1
MSI MS-16V3
MSI MS-16V4
MSI Creator 15 A11UE
MSI Creator 15 A11UH
MSI GE66 Series
MSI GE66 Raider Valhalla Limited Edition 10SF
MSI GE66 Raider Valhalla Limited Edition 10SE
MSI GE66 Raider 10SGS
MSI GE66 Raider 10SFS
MSI GE66 Raider 10SF
MSI GP66 Series
MSI GP66 Leopard 10UG
MSI GP66 Leopard 10UH
MSI GP66 Leopard 11UE
MSI GP66 Leopard 11UG
MSI GP66 Leopard 11UH
MSI GS66 Series
MSI GS66 Stealth 10SD
MSI GS66 Stealth 10SE
MSI GS66 Stealth 10SF
MSI GS66 Stealth 10SFS
MSI GS66 Stealth 10SGS
MSI GS66 Stealth 10UE
MSI GS66 Stealth 10UG
MSI GS66 Stealth 10UH
MSI GS66 Stealth 11UH
MSI GS66 Stealth 11UG
MSI GS66 Stealth 11UE
MSI Stealth GS66 12UE
MSI Stealth GS66 12UG
MSI Stealth GS66 12UGS
MSI Stealth GS66 12UH
MSI Stealth GS66 12UHS
MSI Vector GP66 12UGS
MSI Vector GP66 12UH
MSI Prestige 14 A11SCS
MSI Prestige 14 A11SCX
MSI Prestige 14 A11SB
MSI Prestige 14 A11SC
MSI Prestige 14Evo A11M
MSI Prestige 14Evo A11MO
MSI Prestige 15 A11SB
MSI Prestige 15 A11SC
MSI Prestige 15 A11UC
MSI Prestige 15 A11UD
MSI Prestige 15 A11SCS
MSI Prestige 15 A11SCX
MSI Prestige 15 A12SC
MSI Prestige 15 A12UC
MSI Prestige 15 A12UD
MSI Summit E14 A11SCS
MSI Summit E14 A11SCST
MSI Summit E15 A11SCST
MSI Summit E15 A11SCS
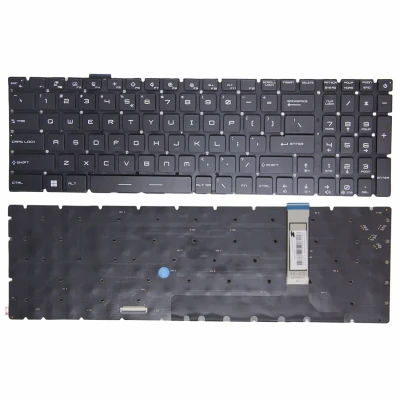
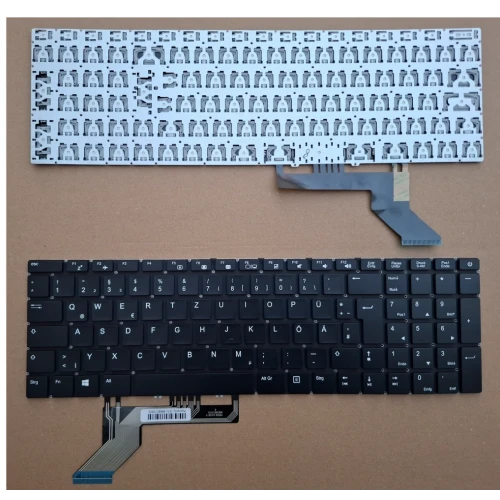
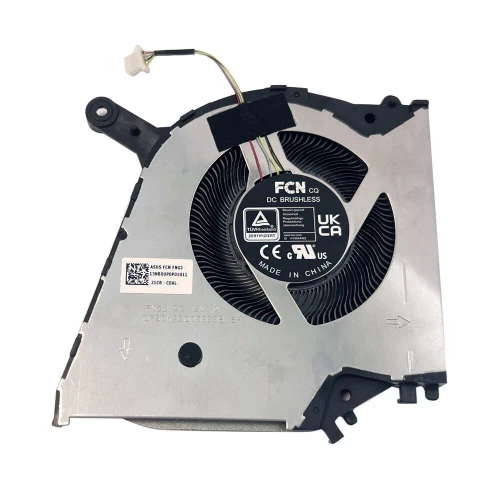
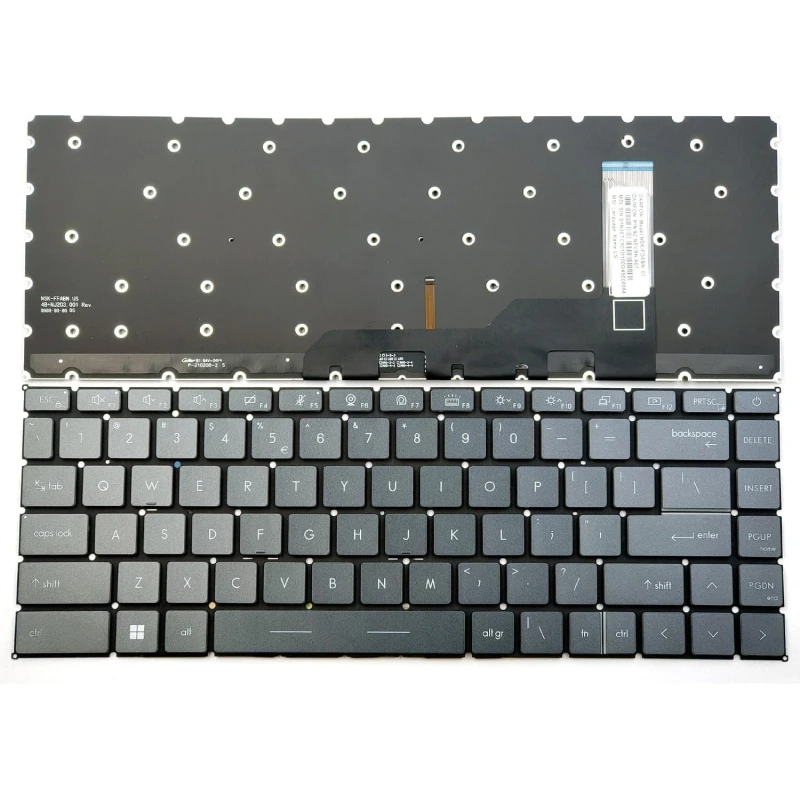
Keyboard for MSI GS66 GE66 GP66 MS-1541 MS-14C1 MS-14C2 MS-16V1 MS-16V2 MS-16V3 WS66 P40 gray backlit – a high-quality replacement keyboard designed specifically for laptops.
Key specifications:
Compatibility: This keyboard is guaranteed to fit and its variants. Please verify your laptop’s exact model number (printed on the bottom label) before ordering.
Installation tip: Always disconnect the battery first. Note the orientation of the ribbon cable before removal – reversing it can damage the connector.
Warranty & Support: All products come with a 7‑day return policy and free technical support. If you have any compatibility questions, contact our team at info@pcspare.com.
SKU: LT-13370 | Last updated: 2026-10-21 07:25:58
Important: Layouts are not interchangeable – the key positions, Enter key shape, and modifier key sizes vary. Installing a US keyboard on a UK laptop will result in some keys not matching the keycaps, and the operating system may map the keys incorrectly (though you can change the keyboard layout in software).
How to verify: Check your original keyboard – look for the Enter key shape (wide horizontal vs tall vertical) and the position of the backslash key. If unsure, send us a photo of your original keyboard and we will confirm the layout.
Connection: If your keyboard has a separate backlight cable, connect it to the designated motherboard header. If the backlight is integrated into the main ribbon cable, no additional connection is needed.
If you are replacing a non‑backlit keyboard with a backlit one, make sure your laptop's motherboard has the necessary connector – otherwise the backlight will not work.
If the cable has a reinforcing strip (a thicker plastic piece at the end), ensure this strip is positioned correctly – it usually indicates the insertion depth and orientation.
If you are unsure about the correct orientation, our installation video and photos can guide you – or contact our support for assistance.
Yes – please verify the following physical attributes to ensure a perfect fit:
Part number (PN) check: The PN on the back of the keyboard may differ from your original, but we guarantee full compatibility if the model and layout match. If you are unsure, send us a photo of the back of your original keyboard (showing the PN sticker) and we will confirm.
Important note on model variants: Some laptop models have different keyboard variants depending on the region and configuration (e.g., some have backlit, some do not; some have a fingerprint reader, some do not). Always check your original keyboard's features before ordering.
If you are unsure, contact our support with your laptop's exact model number and a photo of your original keyboard – we will confirm compatibility for you.
The keyboard connects to the motherboard via a ribbon cable that passes through a slot in the C Cover, plugging into a ZIF connector on the motherboard (usually labelled KEYBOARD, KBD, or J_KB).
Access: To replace the keyboard, you may need to remove the bottom cover (D Cover) or the bezel around the keyboard – depending on the model. Some laptops require removing the entire palmrest (C Cover).
Always consult your laptop's service manual for the specific removal method – forcing the keyboard can damage the clips or the C Cover.
Connection procedure:
If the keyboard has a separate backlight cable:
Do not force the cable – if it does not go in easily, check the orientation. Bent pins on the motherboard header can be difficult to repair.
Note: Keyboard replacement methods vary by laptop model. The steps below are general – refer to your laptop's service manual for model‑specific instructions.
For top‑mount keyboards (most common):
For bottom‑mount keyboards:
Common mistakes to avoid:
If you are unsure about any step, watch our installation video or consult your laptop's service manual.
Critical precautions:
Troubleshooting after installation:
If the problem persists: Contact our support with details about which keys are not working and photos of your keyboard installation – we will help diagnose if the keyboard is defective or incompatible.
For most laptops, no driver installation is needed – keyboards are standard HID (Human Interface Device) and are automatically recognized by Windows, macOS, and Linux.
However, there are a few exceptions:
Step‑by‑step for Windows users:
If you are using Linux or macOS, the keyboard should work plug‑and‑play – you may only need to adjust the layout settings in the system preferences.