
Watch official ASUS videos for installation, disassembly, and repair guidance.
Open ASUS Installation Guide File / Videos
Complete specifications for reference:
FMMU DFSCK22115181L
13NR01N0P09111
FLKP DFSCK22115181L
13NR01Q0P04012
FMMV DFSCK22115181L
Rog Strix G G531gv-al265t
Rog Strix G G531gv-al317
Rog Strix G G531gv-al330t
Rog Strix G G531gv-es037t
Rog Strix G531gv
Rog Strix G531gv-al003t
Rog Strix G531gv-al022
Rog Strix G531gv-al112t
Rog Strix G531gv-db76
Rog Strix Scar 15 G532
Rog Strix G15 G512
Rog Strix G17 G712
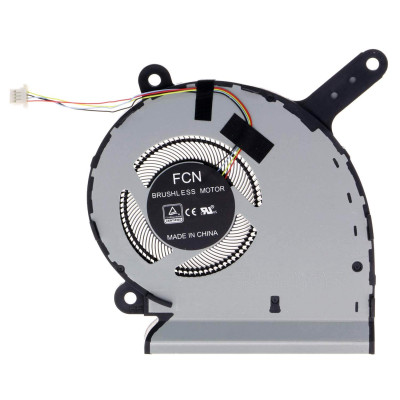
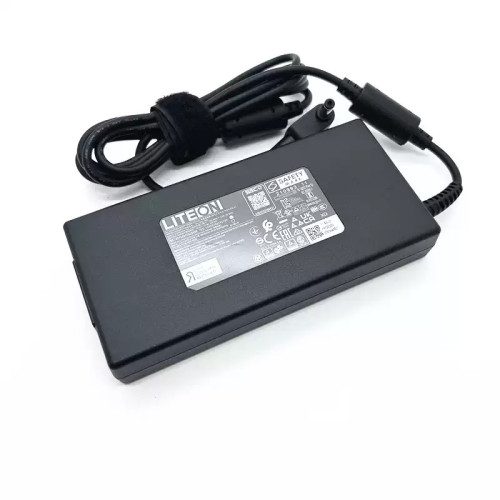
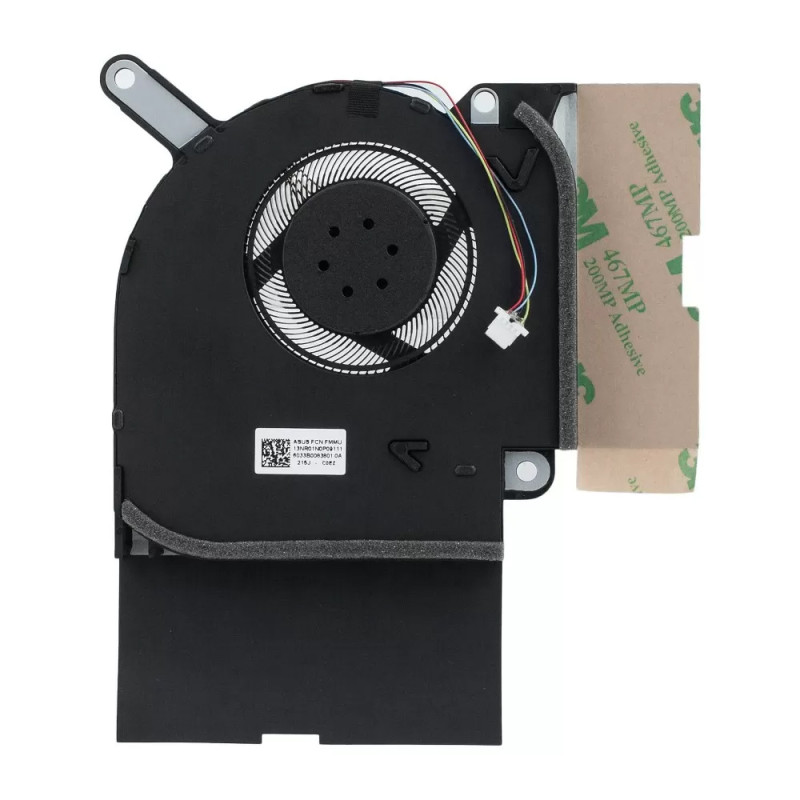
GPU FAN for Asus ROG Strix G531 GL531 G532 G512 G712 G731 GL731 G732 PX531G original 12V – a premium replacement cooling fan for laptops, designed to maintain optimal thermal performance.
Key specifications:
Compatibility: Direct replacement for . Confirm the screw hole positions and fan dimensions match your chassis.
Installation tip: Clean the CPU/GPU surface and apply fresh thermal paste if the new unit includes a heatsink. Secure screws evenly.
Warranty & Support: All products come with a 7‑day return policy and free technical support. If you have any compatibility questions, contact our team at info@pcspare.com.
SKU: LT-10024942 | Last updated: 2026-09-20 00:36:28
How to verify: Open your laptop and look at the fan location – CPU fans are usually near the centre/top of the motherboard, while GPU fans are near the graphics chip (often on the right side). Check the part number on your original fan – it often indicates CPU or GPU designation (e.g., "CPU_FAN" or "GPU_FAN").
If you are unsure, send us a photo of your original fan and we can confirm the type for you.
If any specification is not shown, refer to the product pictures or contact our support.
Best practice: Place your original fan next to the product photos and compare every detail – screw hole locations, clip positions, and the shape of the fan housing. If you are unsure, measure your original fan with a ruler and share the dimensions with us.
Important: When transferring the heatsink, clean the thermal paste from both the heatsink and CPU/GPU surfaces, and apply fresh thermal paste before reassembly.
If you are unsure, send us a photo of your original assembly – we can confirm if this fan is compatible with your heatsink.
Pro tip: Some laptop manufacturers use multiple fan suppliers – Dell, HP, and Lenovo often use different fan PNs for the same model. If your original fan has a different PN, it may still be a functional replacement. When in doubt, send us a photo of your original fan's PN sticker along with your laptop model, and we will confirm compatibility.
Accessing the fan requires removing the bottom cover (D Cover) and sometimes the heatsink assembly (if the fan is attached to it). Some models require removing the motherboard to access the fan from the underside.
Always consult your laptop's service manual for model‑specific disassembly instructions.
Connection steps:
Important: If you are replacing a 4‑pin fan with a 3‑pin fan (or vice versa), the system may still work but speed control may differ. The motherboard will typically run a 3‑pin fan at full speed if it expects a PWM signal.
If your connector has the same number of pins but the plug shape looks different, some manufacturers use proprietary connectors – in rare cases, you may need to repin or use an adapter.
Note: Fan replacement involves handling thermal paste and delicate components. Follow these steps carefully:
Common mistakes to avoid:
If you are not comfortable with thermal paste application, we recommend professional installation.
Critical precautions:
Troubleshooting after installation:
If the problem persists: The motherboard's fan controller may be faulty, or the new fan may be defective – contact our support with details and we will help diagnose.
How to check fan RPM:
Normal RPM ranges (typical values):
What if the RPM is out of range?
Important: RPM readings are approximate – different fan models have different speed ranges. The key is that the fan responds to load changes and keeps the system temperature under control.
If your new fan's RPM is significantly different from the original, check that the pin configuration (2/3/4‑pin) matches the motherboard header.