Frequently Asked Questions & Solutions
Which part of the laptop does this case apply to?
This case is designed for the
Case (please check your original part to confirm the exact type).
Case type reference guide:
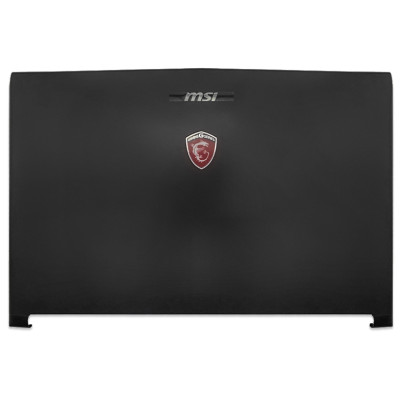
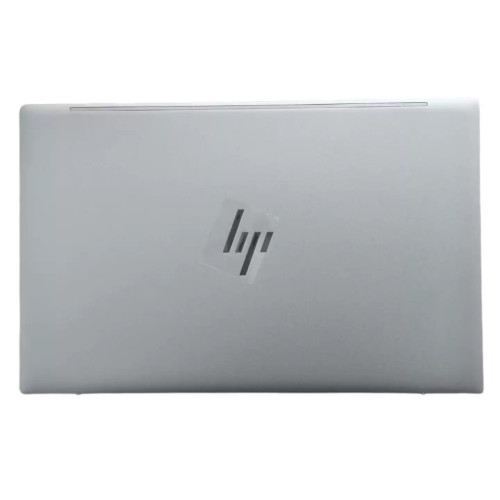
• A Cover (Top Cover / LCD Back Cover) – The outer lid that closes over the screen. Usually carries the brand logo and is visible when the laptop is closed.
• B Cover (Bezel / Screen Frame) – The plastic/metal frame around the display panel. May include camera and microphone cutouts.
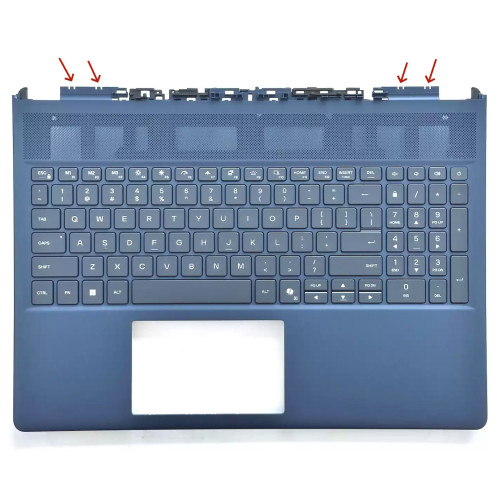
• C Cover (Palmrest / Upper Case) – The main surface area containing the keyboard, touchpad, and power button. This is the largest and most complex case part.
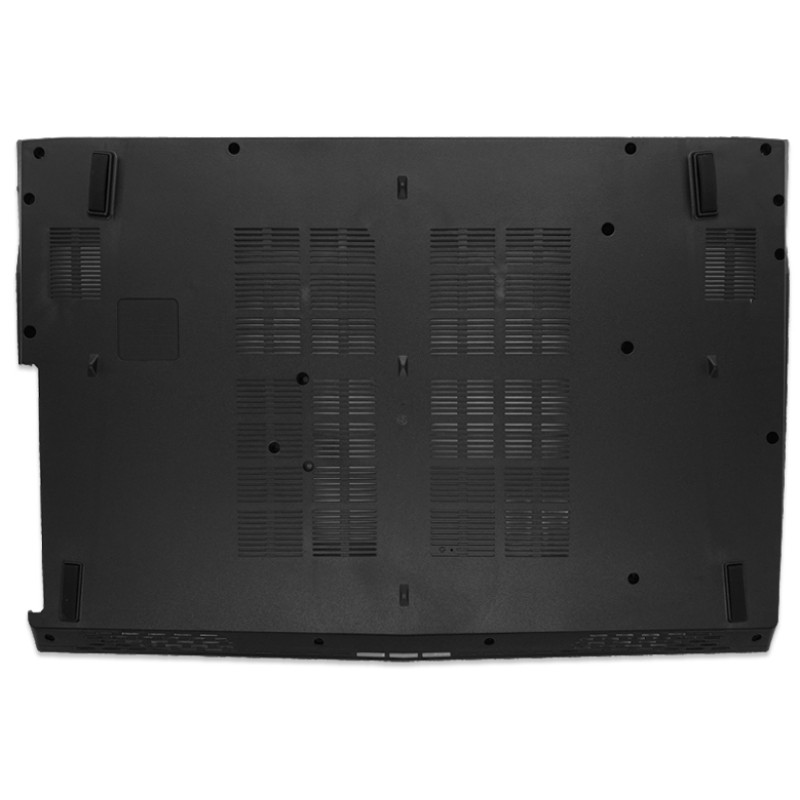
• D Cover (Bottom Cover / Base) – The underside panel that holds the laptop together. Usually has ventilation grilles, rubber feet, and service access panels.
Important: Please double-check your original part before ordering – some models have different cutouts for ports, cooling vents, or additional buttons. If the part number is printed on your original case, compare it with ours to ensure an exact match.
Does this case include other accessories (hinges, cables, speakers, keyboard, screws, rubber feet, etc.)?
The product includes
only the components shown in the product images. Please carefully review the pictures – if an accessory is visible, it will be included; otherwise, it is not part of the delivery.
Typical case contents:
- A Cover: Usually includes the bare lid only. Hinges, LCD panel, camera module, and antenna cables are typically transferred from your original case.
- B Cover (Bezel): The frame only. You will need to transfer the LCD panel, hinges (in some models), and camera/mic assembly.
- C Cover (Palmrest): The bare upper case – does not include keyboard, touchpad, fingerprint reader, or power button (unless specified and visible in photos).
- D Cover (Bottom): The bare bottom panel – does not include rubber feet, screws, or dust filters (unless shown).
If you need a full set with all components (e.g., palmrest with built‑in touchpad and keyboard), please check our other listings or contact us for a custom quote.
How do I check compatibility before purchasing?
This case is designed for
GL72 GP72 MS-1796 1799 179B with DVD port D Cove. To confirm compatibility, please check the following:
- Model number match: Ensure your laptop’s full model number matches the product page. Look for regional variants – some models have different port layouts or cooling vent positions.
- Internal layout: Compare the screw hole positions, cutouts for ports, and mounting points with your original case.
- Color and finish: The case is N/A in Plastic / Metal. Ensure this matches your laptop’s aesthetic – some models come in different colors (e.g., silver vs. black).
- Check for additional features: Some C Covers include a fingerprint reader hole or different keyboard layouts – verify these against your original.
- Part number: If you can locate the part number printed on your original case (e.g., "DA0XXXMBXXX" or "PYXXX" for Dell), compare it with the one listed in our product description.
If you are unsure: Send us a photo of your original case (front and back) along with your laptop’s full model number – we can verify compatibility for you.
Where is this case part physically located on the laptop?
The location depends on which case you are replacing:
- A Cover (Top Lid): The outermost surface of the display lid. Visible when the laptop is closed – it is the top surface you see from above.
- B Cover (Bezel): The front frame around the screen – the part you see when the laptop is open, directly surrounding the display panel.
- C Cover (Palmrest): The large surface area below the screen and above the hinge, containing the keyboard, touchpad, and power button. This is the interior surface you rest your palms on while typing.
- D Cover (Bottom Base): The underside panel of the laptop – the part that rests on the desk. Usually has ventilation grilles, model labels, and rubber feet.
Accessing each part requires different levels of disassembly – see the installation guide (Q5) for detailed steps.
Are the screw holes and hinges compatible with my laptop?
Screw hole alignment: This case is manufactured to the exact specifications of the original design. The screw holes should align perfectly with your laptop’s mounting points. However, due to manufacturing tolerances, minor differences may occur – we recommend using the original screws from your laptop rather than new ones that may come with the case.
Hinge compatibility:
- A Cover (Top Lid): The hinges are typically attached to the A Cover and the C Cover/Palmrest. Our A Cover includes the hinge mounting brackets – you transfer your existing hinges or use the ones included (if shown in photos).
- C Cover (Palmrest): The hinges mount onto the C Cover – ensure the hinge screw pattern matches your original.
- D Cover (Bottom): The D Cover does not usually involve hinges – it simply covers the bottom.
Important: Some models have left and right hinges with different screw hole patterns – mark them during disassembly to avoid confusion during reassembly.
If the screws provided with the case do not match, reuse your original screws – they are already proven to fit.
How to replace the laptop case step by step?
General note: Case replacement is a complex procedure. The steps below are general guidelines – please refer to your laptop’s service manual for model‑specific instructions.
Step 1: Preparation
- Power off the laptop, disconnect the AC adapter, and remove the battery (if removable).
- Work on an anti‑static mat or grounded surface.
- Take photos of each step – this will help you remember cable routing and screw positions.
Step 2: Disassembly (removing the old case)
- For D Cover (Bottom Case): Remove all visible screws from the bottom panel – some may be hidden under rubber feet or labels. Gently pry the panel off using a plastic spudger.
- For A Cover (Top Lid): Remove the display bezel (B Cover) first, disconnect the LCD cable and antenna cables, unscrew the hinges from the lid, and lift the A Cover off.
- For B Cover (Bezel): Gently pry the bezel off from the inner edge – it is usually held by clips and adhesive. Work carefully to avoid bending or cracking it.
- For C Cover (Palmrest): This requires the most work – you will need to remove the motherboard, keyboard, touchpad, speakers, and all cables from the old palmrest before transferring them to the new one.
Step 3: Transferring components to the new case
- Transfer each component (motherboard, speakers, cables, hinges, LCD panel, etc.) to the new case in the exact same position as the old one.
- Use the original screws – they are designed for the case.
- Route cables along the original grooves – use adhesive tape or clips to secure them.
Step 4: Reassembly and testing
- Before fully closing the case, reconnect the battery and test basic functions – power on, keyboard, touchpad, display, and ports.
- If everything works, power off, disconnect the battery, and fully assemble the case.
- Do not overtighten screws – snug is enough.
Warning: If you are not confident in performing a full motherboard transplant, we recommend having a professional technician handle the replacement – especially for C Cover replacements.
What precautions should I take, and what if the new case does not fit properly?
Critical precautions:
- Always disconnect the battery before transferring components – short circuits can damage the motherboard.
- Handle the new case with care – avoid scratching the painted surface or bending thin sections.
- Use correct screws for each hole – mixing up screw lengths can puncture the case or damage components.
- Do not force clips or latches – if a part does not snap into place, check for misalignment or cable pinching.
- Apply thermal pads/paste if they were present in the original case (e.g., for cooling the chipset).
- Check grounding contact – some cases have grounding springs or foil – transfer them if present.
Troubleshooting – what if the new case does not fit?
- Screw holes do not align: Double‑check that you are using the correct model variant (some have different port layouts). If the misalignment is minor (less than 1mm), you may need to gently adjust the component positions.
- Hinge feels too tight or loose: The hinges themselves may need adjustment – transfer the hinges from your old case to the new one, as hinge tension is typically set at the hinge, not the case.
- Ports do not line up with the cutouts: The component (e.g., USB board) may not be seated properly – ensure it is fully inserted into its slot.
- Gaps between case halves: Check for pinched cables – re‑route them carefully. Also ensure all clips are fully engaged.
- System does not power on after reassembly: Verify that all cable connections are secure, especially the power button cable and the battery connector.
- Keyboard keys are stuck or not working: The keyboard may not be seated correctly in the C Cover – remove and reseat it.
If the case appears to be the wrong model: Contact our support immediately with photos of your original case – we can help verify if it is the correct part or process a return/exchange.