Frequently Asked Questions & Solutions
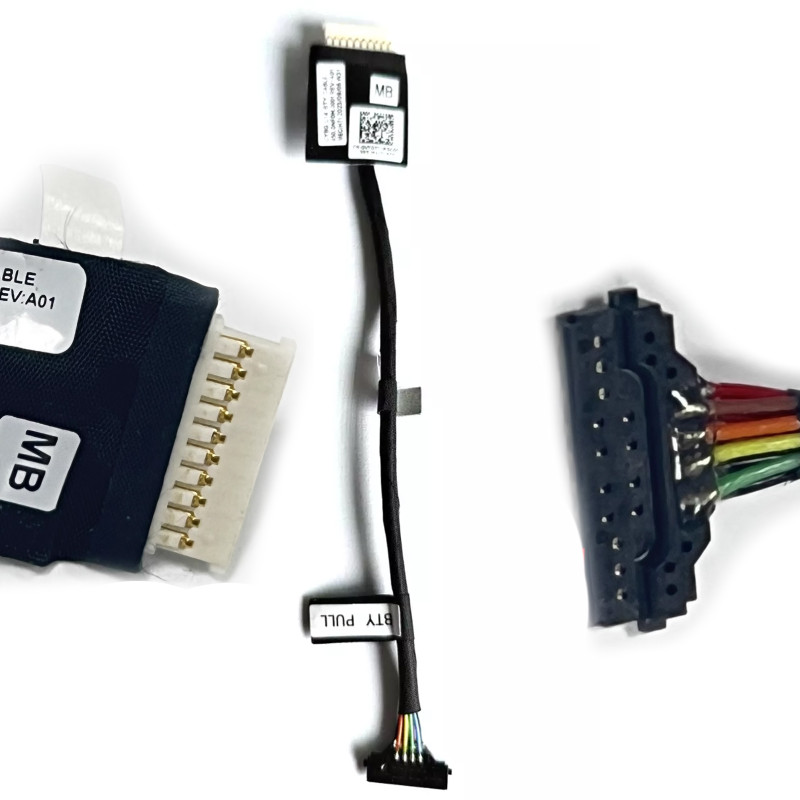
What are the wire gauge and connector type of this battery cable?
The wire gauge determines the current‑carrying capacity – lower gauge numbers mean thicker wires, which are safer for high‑power batteries (e.g., 18 AWG vs 22 AWG). Using a cable with insufficient thickness can cause overheating, voltage drops, or even melting under load. The connector must match both the battery and motherboard headers – it is usually a multi‑pin (e.g., 2‑pin, 4‑pin, or 6‑pin) with a specific pitch and locking mechanism. Always compare the original cable’s connector shape and pin arrangement before installation.
Is this battery cable compatible with my battery and motherboard?
This cable is specifically designed for
07VDCD 0VYDYT 450.0NF0C.0011. However, compatibility depends on three factors:
- Connector type and pinout: The cable must have the exact same connector on both ends – the battery side and the motherboard side. Even if the number of pins matches, the pin assignment (voltage, ground, sense lines) can differ between models.
- Cable length: It must be long enough to reach from the battery compartment to the motherboard header without tension, but not so long that it requires folding or kinking.
- Wire gauge: As mentioned, the gauge must be sufficient for your battery’s current (e.g., a 60Wh battery needs thicker wires than a 30Wh one).
We recommend comparing the part number printed on your original cable (if visible) with ours. If unsure, check your laptop’s service manual or contact our support with your full model number.
How to replace the battery cable step by step?
- Safety first: Ensure the laptop is powered off, AC adapter unplugged, and the battery is already disconnected. If the original battery is still installed, disconnect it from the motherboard using the old cable (or remove the battery first).
- Remove the bottom cover (D‑cover) to access the internal components.
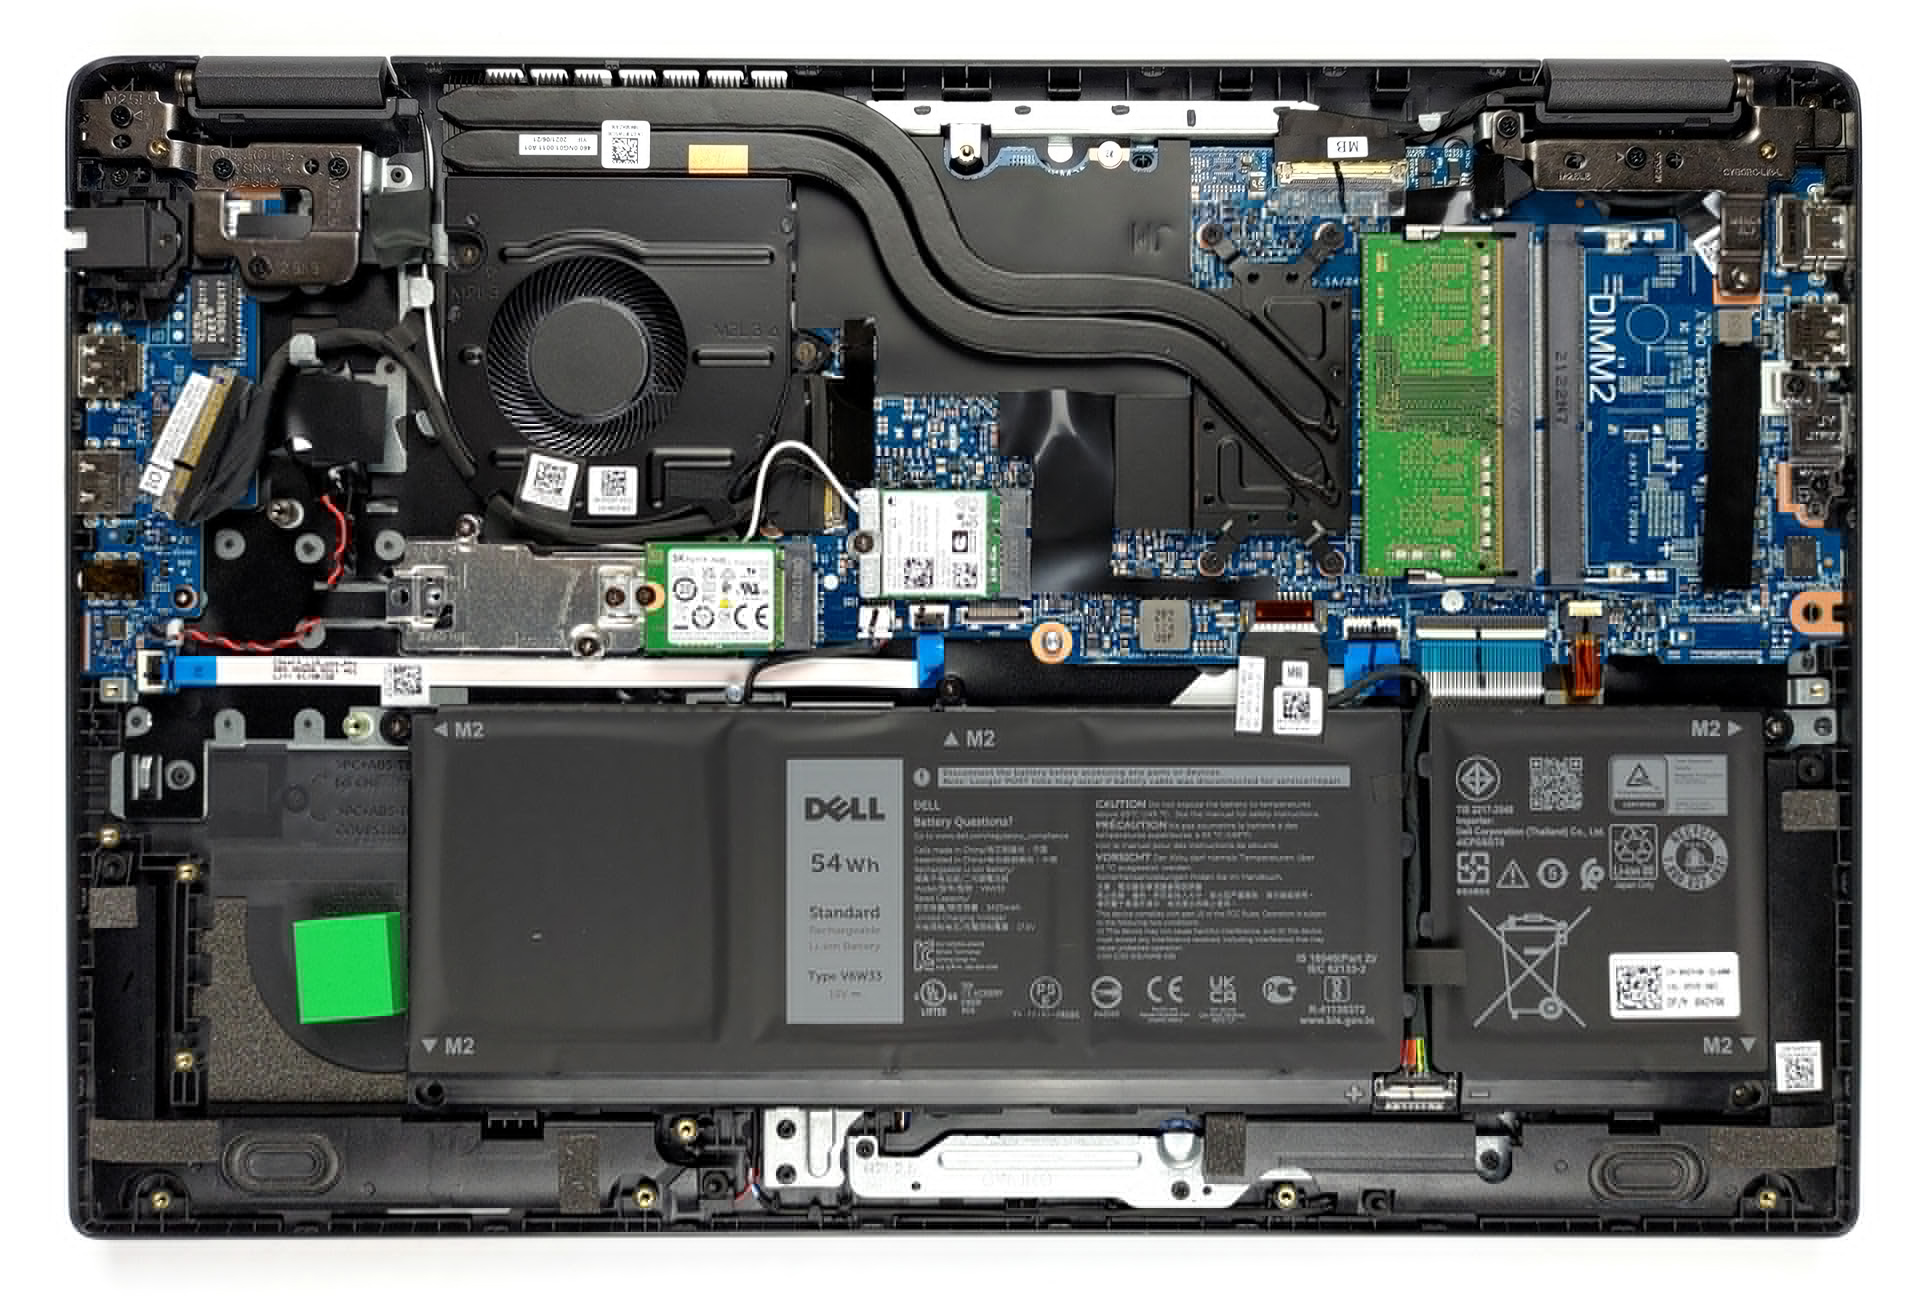
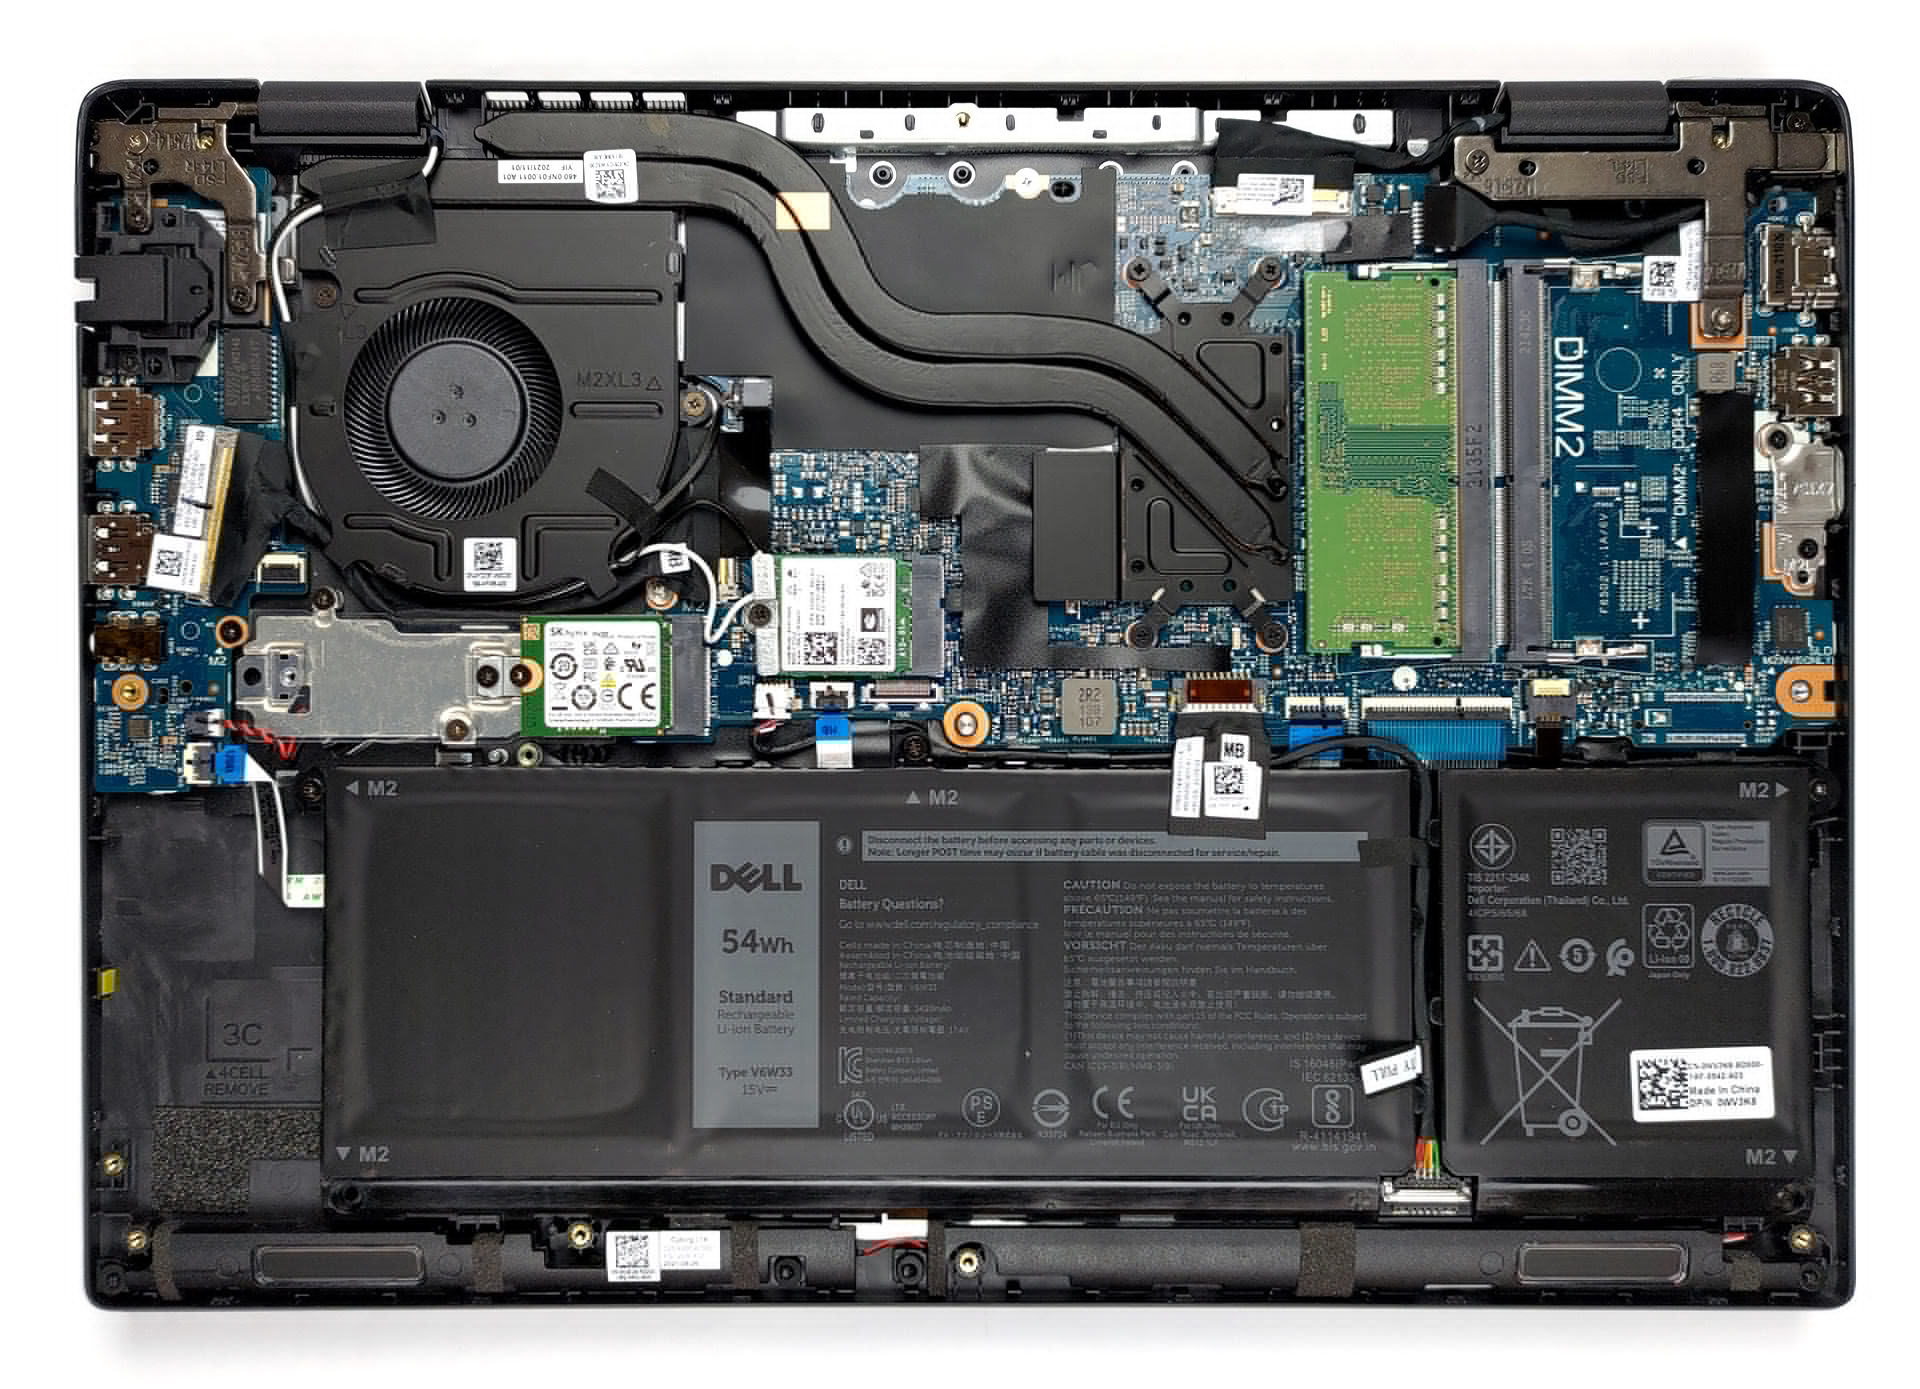
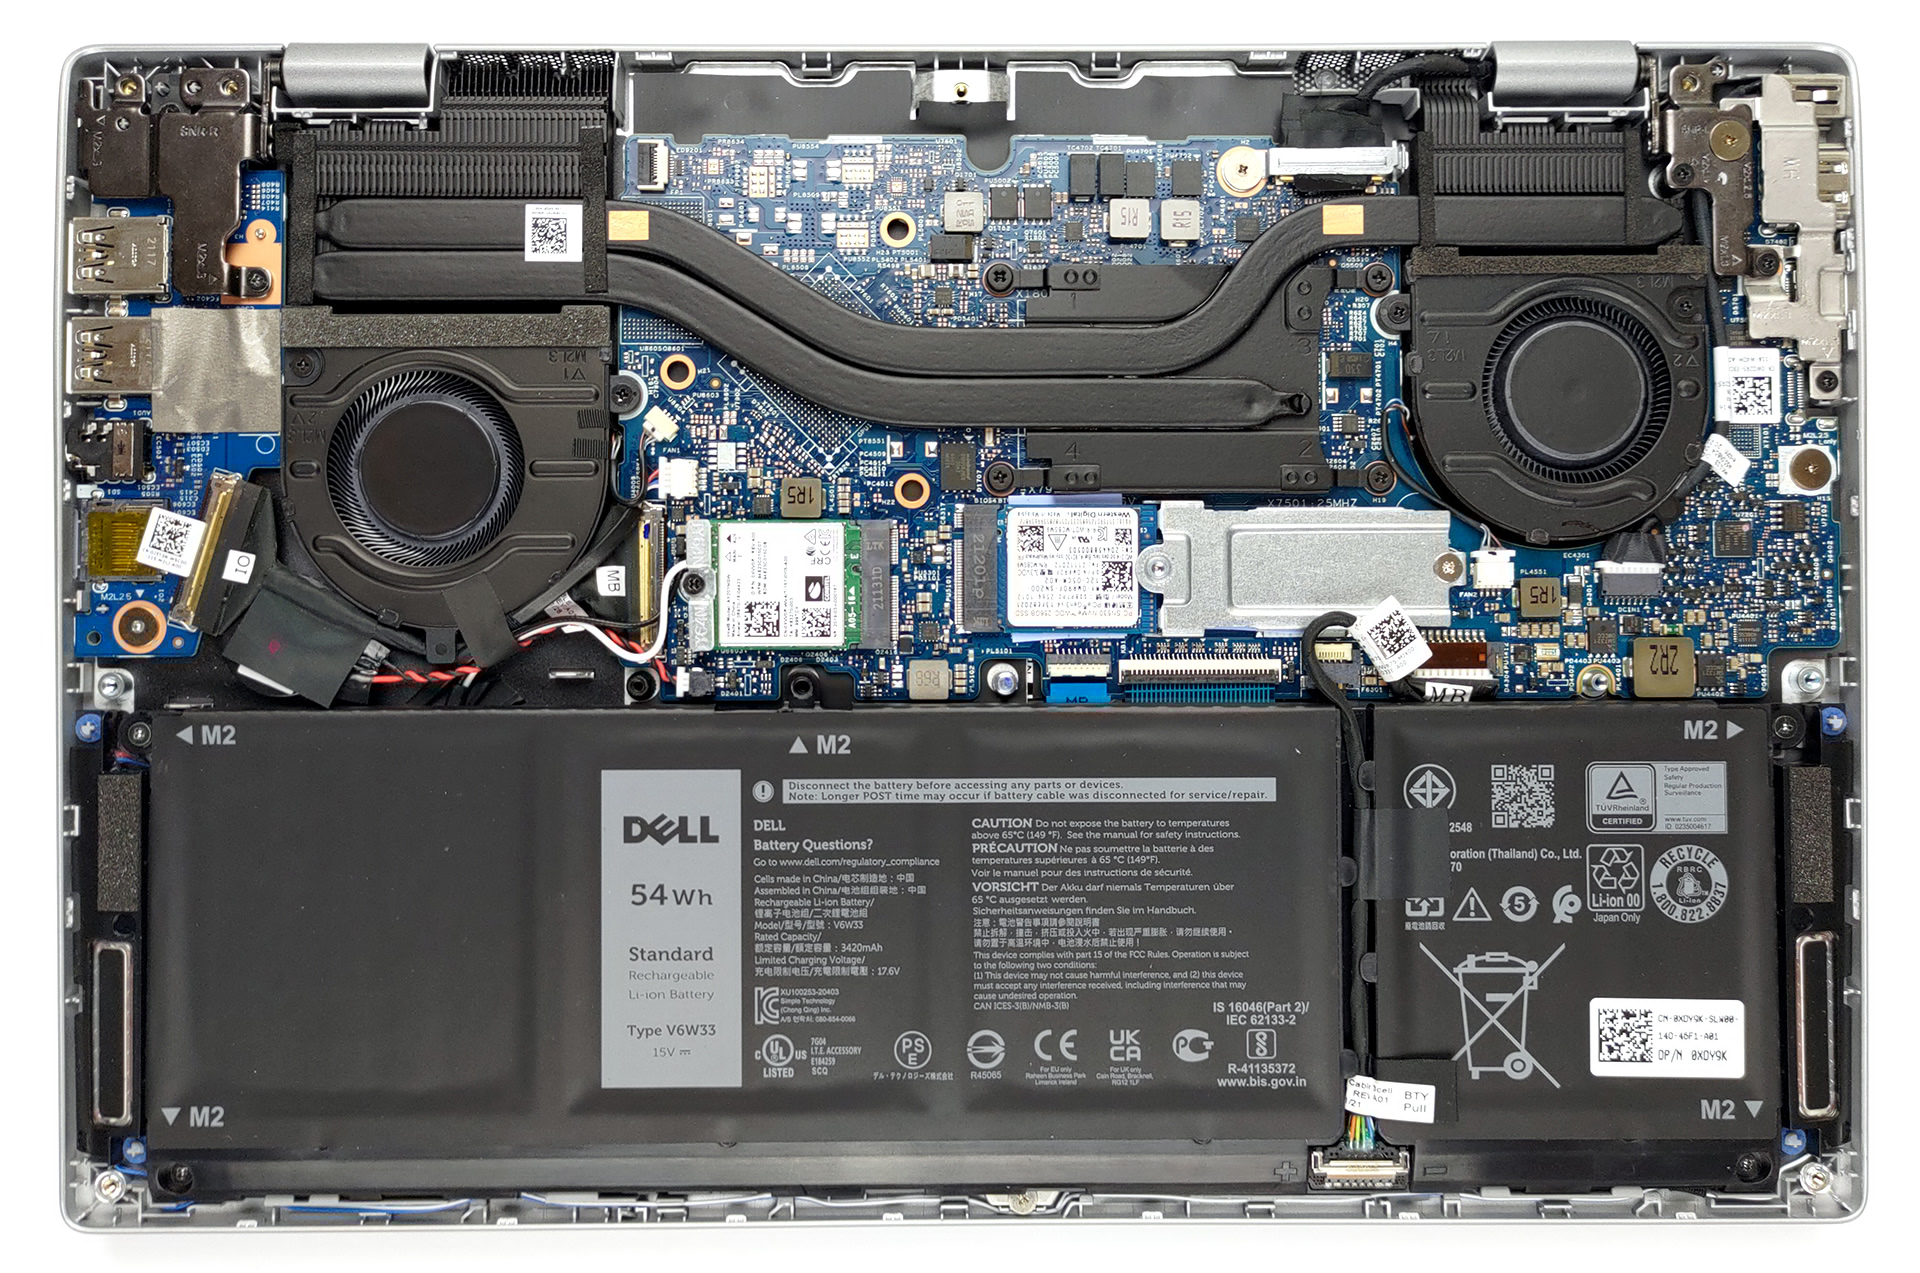
- Locate the battery and the cable – the battery is usually a large rectangular pack. The cable runs from the battery’s connector to a dedicated header on the motherboard.
- Disconnect the old cable from the motherboard – gently pull the connector straight out. If it is a ZIF type, flip up the locking tab first.
- Disconnect the old cable from the battery – this may require carefully prying the connector off the battery’s interface.
- Remove the old cable from its routing path – it is often secured with adhesive tape or clips. Free it without pulling on the wires.
- Route the new cable exactly along the original path – use the existing clips or tape to secure it. Ensure the cable does not touch hot components (e.g., CPU heatsink) or moving parts (fan).
- Connect the new cable to the motherboard first – insert the connector firmly, ensuring it is fully seated. If it is a ZIF, lock the tab. The connector is usually keyed – it will only go in one way.
- Connect the cable to the battery – push the connector onto the battery’s mating port until it clicks or seats completely.
- Test before full reassembly – reconnect the battery (if you disconnected it earlier), plug in the AC adapter, and power on the laptop. Check that the battery is detected, charging, and discharging properly.
- Power off, unplug the AC adapter, and reassemble the bottom cover.
Important: Do not pinch the cable when closing the chassis – ensure it lies flat in its designated groove.
Where is the battery cable physically located inside the laptop?
The battery cable runs between the
battery pack and the
motherboard. Its exact location depends on the laptop design:
- Most common: The battery is at the bottom centre or front edge, and the motherboard header is near the battery compartment – the cable is short and direct.
- In ultra‑thin models: The battery may be placed along the hinge, and the motherboard header is on the opposite side – the cable then runs along the chassis edge, often beneath the keyboard or trackpad area.
- In gaming laptops: The battery is often in the rear, and the cable routes alongside the heat pipes.
The cable is usually secured with adhesive tape and/or plastic clips to prevent movement. To access it, you typically only need to remove the bottom cover, but some models require removing the battery first to expose the connector.
How do I identify the motherboard header for the battery cable and connect it correctly?
The motherboard header for the battery cable is usually clearly labelled with silkscreen markings such as:
- BATT / BAT
- J_BATT / J_BAT
- PWR_BAT or CN1 (varies by manufacturer)
Connection procedure:
- If the motherboard connector is a ZIF (Zero Insertion Force) type (common for flexible flat cables), lift the retaining flap, insert the cable with the exposed contacts facing the flap, then press the flap down to lock.
- If it is a standard pin header (e.g., 2‑pin or 6‑pin Molex), the cable will have a matching socket – align the key (notch or polarising tab) and push straight in until it is fully seated.
- Polarity is critical – the red wire is usually positive (+), and black is negative (-). Some cables have a white sense wire for temperature monitoring – ensure it is connected to the corresponding pin.
- Do not force the connector – if it does not slide in easily, check orientation or the presence of bent pins.
After connecting, gently tug the cable to confirm it is locked.
What precautions should I take, and what if the battery does not charge or the laptop does not power on?
Critical precautions:
- Always disconnect the battery before removing or installing the cable – even with the AC adapter unplugged, the battery can deliver high current and cause a short circuit.
- Handle the cable gently – avoid kinking, twisting, or pulling on the wires. The connector terminals can be damaged if bent.
- Route the cable away from heat sources (CPU, GPU, heatsink) and moving parts (fan blades).
- Ensure the cable is not pinched when replacing the bottom cover – pinched wires can cause intermittent connection or fire hazard.
- Check that the connector is fully seated – a loose connection can cause arcing, which damages pins.
Troubleshooting if the battery is not charging or the laptop fails to power on:
- Check all connections: Reseat the cable on both the motherboard and battery ends.
- Inspect the connectors for bent or broken pins – if damaged, the header may need repair.
- Test with a multimeter: If you have the tools, verify that the voltage from the battery reaches the motherboard (with caution – do this only if experienced).
- Check the battery health: The battery itself might be faulty – test with a known‑good battery if available.
- Verify the cable gauge: If you used a thinner cable than original, it may overheat under load – replace with the correct gauge.
- Reset the EC (Embedded Controller): Unplug the AC adapter, disconnect the battery (and CMOS battery if accessible) for 30 seconds, then reconnect and try again.
- If the laptop powers on but does not charge: Check the power management settings and drivers in the operating system; also inspect the AC adapter.
If the problem persists, the replacement cable may be incompatible or defective – contact our support with your laptop’s full model and original cable part number.
How can I tell if my battery cable is faulty?
Common symptoms of a failing battery cable include:
- Intermittent power loss – the laptop suddenly shuts down even with a charged battery.
- Battery not detected – Windows or BIOS shows "No battery present" even though it is connected.
- Charging stops and starts randomly – the battery percentage jumps or the charge indicator flickers.
- Physical damage – visible cuts, melted insulation, or broken connector clips.
- Overheating – the cable becomes hot to the touch (indicating high resistance due to internal breakage).
If you notice any of these signs, replace the cable immediately to avoid potential fire risks or motherboard damage. Our replacement cable meets or exceeds OEM specifications for safe and reliable performance.